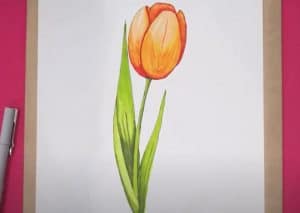
Tulip Flower Drawing easy with this how-to video and step-by-step drawing instructions. How to draw a flower for beginners and kids.

Please see the drawing tutorial in the video below
You can refer to the simple step-by-step drawing guide below
Step 1: Draw the flower in the center first by drawing a larger pointed oval petal on the sides and then the slender petals on the sides. Also draw a few more petal lines slightly above to complete the flower.
Step 2: Next draw the remaining two flowers on each side of the center flower, these will be smaller than the first flower, however the right flower will be more closed so you can draw less petal lines closer to the top.
Step 3: In this step you will draw the leaves starting from a central point below the flowers and moving upwards. The leaves should be thin and have a straight line in between them.
Step 4: Finally draw the flower spikes connecting the flowers to the leaves and basically straight lines.
Interesting facts about tulips
Tulips are popular spring flowers discovered in Asia. By the 16th century, Europe had begun to grow colorful flowers. Tulips are large, cup-shaped flowers that grow on tall smooth stems. They can grow up to 4 inches tall. When blooming, tulips have 3 petals and inside the flower there are 3 black stamens (the pollen-producing part of the flower.) The plant has long, thin leaves that are waxy to the touch. Tulips can have 12 leaves, but usually 2 to 6. Flowers grow from bulbs. Today, the largest producer of tulip bulbs is the Netherlands. They produce 3 billion light bulbs a year!


