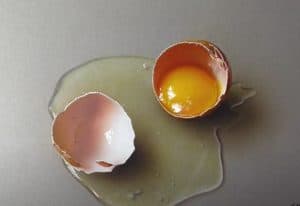
Realistic Egg Drawing by Pencil with this how-to video and step-by-step drawing instructions. 3D Drawing Tutorial for beginners and everyone.

Please see the drawing tutorial in the video below
You can refer to the simple step-by-step drawing guide below
Step 1 – Draw the contour of the egg
Start by drawing the outline of the egg whites. These can be quite random shapes that look like a blob.
Step 2 – Draw the yolk
Inside the egg white draws the yolk. Try it and make it close to the circle but it doesn’t have to be perfect.
Step 3 – Paint the highlights
Inside the egg yolk, outline a small area to highlight. This will be the light reflected off the smooth yolk and will help it look shiny.
Step 4 – Color the yolks
Fill the yolk with yellow with a highlighter (or pencil) and erase the outline around the marked area (if it’s too obvious). Then darken the other lines using a pencil or black pencil / marker over them.
Step 5 – Coloring the edges
Fried eggs usually have a bit of a crispy edge around them. You can show off this using a brown pencil to create a gradient around the contour of the egg white.
Don’t put too much pressure on the pencil when adding gradients. Mix it slowly so it looks smooth.
Step 6 – Finish drawing the fried egg
To complete the painting, use the orange pencil to add a second gradient color, this time around the egg yolk. Again, be sure to blend the colors so you get a smooth transition from orange to yellow.


