Platypus Drawing easy with this how-to video and step-by-step drawing instructions. Wild animals Drawing for beginners and all.
Please see the drawing tutorial in the video below
You can refer to the simple step-by-step drawing guide below
Step 1
In this step, what you will do first is outline the instructions. A small circle in the front for the head, then a line, then a larger circle in the middle for the middle of the body, then another line, and finally a larger circle for posterior part of the body with the final line extending off the back.
Step 2
Now this is where the platypus begins to form. In the front sketch, outline the bill then draw it inward. The bill is just a long flat shape, like a duck. Also draw a small circle for the eyes. Starting from below the small circle, sketch a straight line going down the platypus’ belly and bend it at the end. On the middle part of the circle draw a “U” for the arm.
Step 3
In this step, you will outline the upper half of the platypus’ body. As you do this, make sure you add some shape to it, don’t draw a perfectly straight line without waves on it. Continue doing this until the end of the tail at the back. When you reach the tail, simply cut the square out of the beaver’s tail-like shape. Sketch in the active forefoot and forefoot frame before moving on to the next step.
Step 4
Now this is the final step where you will actually sketch and draw. Define the bill by adding some small details to it. Sketch the fabric line on the foot in front like you would if you were drawing a duck. Now move to the back of the animal and outline the nails that are attached to the paws. After you’ve done all these steps, erase the guidelines and clean your sheet of paper with the eraser tool.
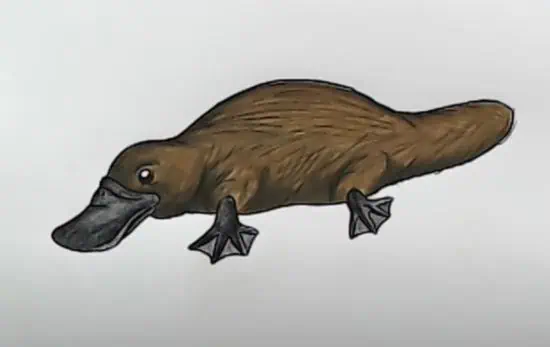
Step 5
Here’s what you should end up with when you’re done. See now is not an easy sketch of the platypus to draw, and you did it all by yourself. Good job!


