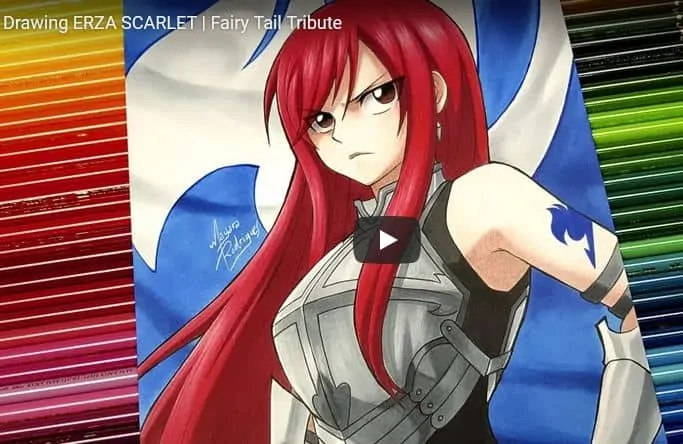
How to draw Erza Scarlet from Fairy Tail with this how-to video and step-by-step drawing instructions. Anime girrl drawing tutorial for beginners and kids.
Please see the drawing tutorial in the video below
You can refer to the simple step-by-step drawing guide below
Step 1
Please reiterate to all of our mangakas that all the blue lines you see in this tutorial are only construction lines and will be erased later, so don’t press too hard on the pencil when drawing these. this way. For our final lines, you should see black at the end of the tutorial. We’ll start with the circle of the head, mind, and eyes.
Pro Tip 1: Start with a large circle for the top center of your paper. Go back and forth a few times to get a nice outline of a circle, as it can be quite difficult to draw a circle by hand. Then follow your head circle on the contour you made.
Next we will draw our center line located just to the right of the center of the head circle and place the title at a very small corner. It will extend both above and below the head circle slightly. Then we’ll draw our horizontal eye line about a quarter of the way up the head circle. It should also extend beyond the head circle.
Step 2
Contour eyes, nose and jaw in this step. We can start by drawing the jaw line. It starts on the left where the eyeliner hits the head circle, goes down the center line and then returns back to where the eyeliner and head circle intersect on the right. The chin, though round, should be slightly pointed. Next, we will draw the upper part of the eye using the eyeliner as our base. Draw the left eye like a leaf. The right eye is similar but it is not a smooth curve. It looks a bit more like a diamond. In the end, we will draw the nose between the eyeliner and the lower part of the head circle just to the right of the center line.
Step 3
We’ll outline Erza’s bangs in this step and add some facial features. You should start with the hairline. It is made up of three lines. Start on the left with the vertical line that almost overlaps the left eye. Jump over where the eyeliner meets the head circle and draw the “V” upside down. Once you have those two lines, simply add a line above the left eye to connect them. Then inside the eye we’ll add a half circle for the pupil using the eyeliner as the base. Note that in the left eye, the pupil stops at the hairline we just drew. Draw lines for the lower lids of the eye, but make sure to leave a space in the inner corner of the eye. Next, stretch the nose line above the right eye to touch the hairline. This will be for her eyebrows. Scroll down, add a dot for the nostrils to her nose. And finally, we will draw two lines for her mouth. Both lines should be on the left side of the center line more than on the right, and you’ll notice the top line curving up at the left end.
Step 4
We’ll enlarge Erza’s eyes to do a little detailed work. Inside the pupil of the eye we will draw some reflection points. At the bottom of the pupil we will draw a shape like the letter “M” with soft arches. Then we’ll draw a small circle in the upper right of the pupil. On the inner corner of each eye we will draw a line for the upper eyelid and then we will add some lashes. Once you understand, we will move on.
Step 5
Time for some hair and neck segments of Erza. We’ll start with the hair on the right side. It starts from the center line above the head, goes down and hits the end of the eyeliner, goes down further, to a point, and then comes back to touch the cheeks. On the right, we will use the line drawn in step 3 that overlaps the left eye as part of the hair. We’ll extend that line a little more in the middle of the head. Then we’ll stretch it down the head circle to one point and then back up to stop outside the head circle on the left about 3/4 way up the head circle. NOTE: Both ends of these hair clips should be facing the right side. Next we will draw a very short line just to the right of the chin and then the neck curve touching the hair on the left side. And that’s it for this step.
Step 6
We have a little bit of hair to add and then we’ll work on Erza’s armor. To start, you can draw the hairs on her forehead just touching her left eyebrow. Then we will move down and focus on the area between the previous hair clips. If you look closely, there is a small “U”-like shape just below the middle line below the neck and then a larger “Y” shape. The easiest way to draw this is to draw a line from the neck, then curl it downwards and touch the hair on the right side. Then draw a “U” shape and then a “Y” shape. Make sure to leave enough space between the letter “U” and the letter “Y” as we will want to draw some more lines between them. Once that is done, you can add the crown from the left side of the hair. When all is settled, you can draw the left shoulder line and the right shoulder line out of the hair segments.
Step 7
Add a hair clip and some more armor details in this step. You can start with the hair that starts at the top of the middle line above the head and moves left, it goes down and touches the left shoulder, then adds another line from the shoulder to the part of the hair you already have. has been drawn. Next we’ll move down to the armor, where we need to draw two parallel lines between the “U” and “Y” shapes on the neck plate. Finally, we’ll add a line across the armor at the end of the letter “Y”. Great work.
Step 8
Now, in this step, do your best to imitate the image you see above. All you have to do is add lines to the already drawn sections and bangs to add layers to the hair.
Pro tip: make sure to add lines between the two hair clips on the left side where it appears to have a hole or space just above the shoulder. Let’s do the same thing with the area between the right hair and the neck armor.
Once you have the hair lines in place, we will add a few more short horizontal lines to the neck plate and we’re ready to draw our final lines.
Step 9
Use your eraser tool to lighten all of the building lines you’ve made so far. Then take out your finishing pen and draw your final lines. Prepare all of your final lines and then we will work on line quality and quality. Pro tip: When making your basic final lines, pay attention to the break at the top two lines of the neck armor, also remember to leave the inner corners of the eyes blank. Once you’ve got your final lines, we’ll do some line quality work. This means we should thicken the lines a bit. I’ve thickened both the upper and lower contour of the eyes, the jawline, especially the right side, the shoulders on the left, and the neckline on the right between the hair clips. This gives Erza a more 3D feel. Before continuing, just fill in the pupil except for the small circle and the shape “M”. These are reflective points.
Step 10
Once the ink dries completely, use the eraser to completely erase the remaining building lines you can see.
Step 11
For our final step, I decided to do some shading. Use a gray marker or pencil shade for all of Erza’s hair and an “M” shape above her eyes. Also, I polished her neck area just below the chin. Give it a few minutes to dry and examine.
You just drew the witch Erza Scarlett from Fairy Tail. If your goal is to become a great mangaka, remember to pull Erza out of your memory. Then, compare the final drawing with the original and correct any errors you may make. Try again from memory. This is the best way to build a huge library of shapes that you can use in the future for your own manga characters.


