How to Draw the Space Needle easy with this how-to video and step-by-step drawing instructions. Easy drawing tutorial for beginners and kids.
Please see the drawing tutorial in the video below
You can refer to the simple step-by-step drawing guide below
Step 1
Start by drawing two vertical lines. The lines should be curved, closest together in the middle, and diverging at the top and bottom. Connect the lines at the bottom using a short curved line. This outlines the Space Needle’s first support.
Step 2
Draw a “V” shaped curve at the top of the stand, connected to each previous line
Step 3
Draw a long curved line next to the stand. Then connect it to the first support using two curves. It looks like this support is leaning towards the first.
Step 4
Draw the bottom of the Needle, erasing the guides if necessary. First, extend a narrow rectangle from the first support. On it, draw a flat cube and connect the two with short lines.
Step 5
Draw a pair of lines between the first two supports. Then draw the third support as visible between them, using a long curved line.
Step 6
Use curved lines to wrap the outside of the third rack. Then draw the other side of the platform, using a narrow rectangle and a flat shape.
Step 7
First support details. Draw narrow shapes with rounded ends.
Step 8
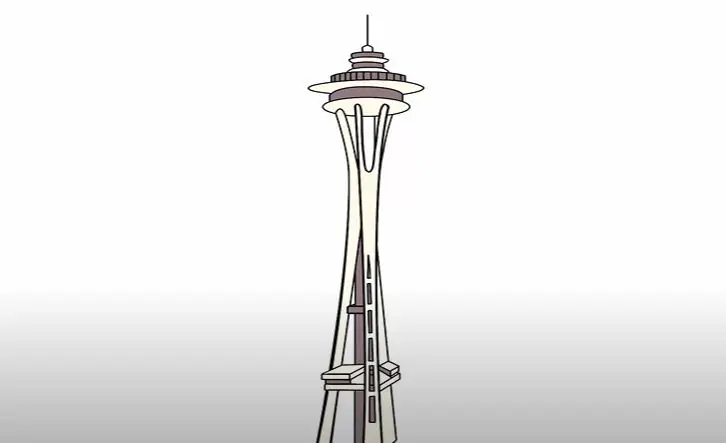
Draw the main background of the Space Needle. Draw an oval on top of the racks. Surround a circle above it and a larger oval on top.
Step 9
Competition Space Needle. Enclose a circle at the top and strip it with vertical lines. Then enclose a series of circles, larger then smaller than the others. Draw a circle on top of the final shape, with a vertical line emerging from it.
Step 10
Color your space needle.