How to Draw Silver The Hedgehog with this how-to video and step-by-step drawing instructions. You will follow simple instructions to complete the drawing and coloring process. Each step is designed to help you understand how to shape different parts of the Silver Hedgehog, from the snout to the hair.

Please see the drawing tutorial in the video below
Silver The Hedgehog Drawing step by step
Step 1. Create the Snout
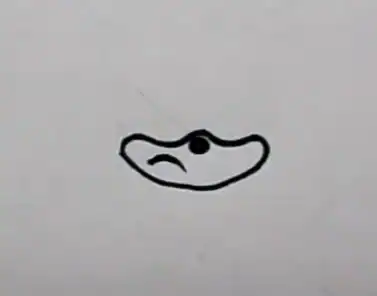
Start by sketching Silver’s snout. Now, draw a small triangular nose. Then, draw a curve for the mouth.
Step 2. Draw the Eyes

Draw Silver’s bright eyes and sketch out his oval iris.
Step 3. Draw the Hairline

Give Silver’s spiked hair a pointed shape, spreading out like a crown.
Add two pointed ears behind the spiked hair.
Step 4. Sketch the Body and Hands
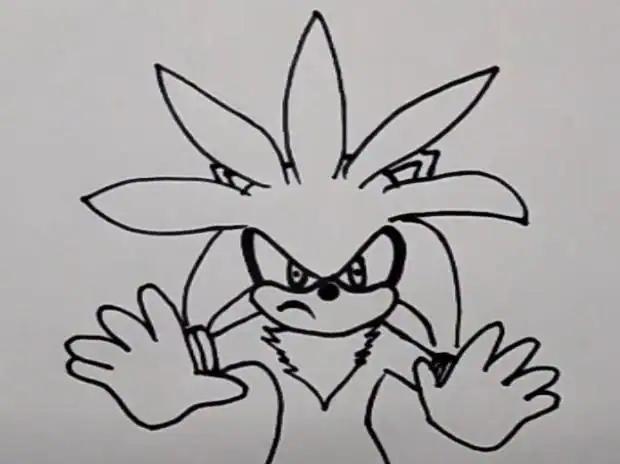
Add a tuft of chest hair below Silver’s head. Then, draw two curved vertical lines to outline his slender shape.
Draw a pair of slender hands attached to his body.
Create the palms of his gloves. Next, add thick wrists that connect to his hands. Then, sketch the loops on each palm.
Step 5. Add Legs
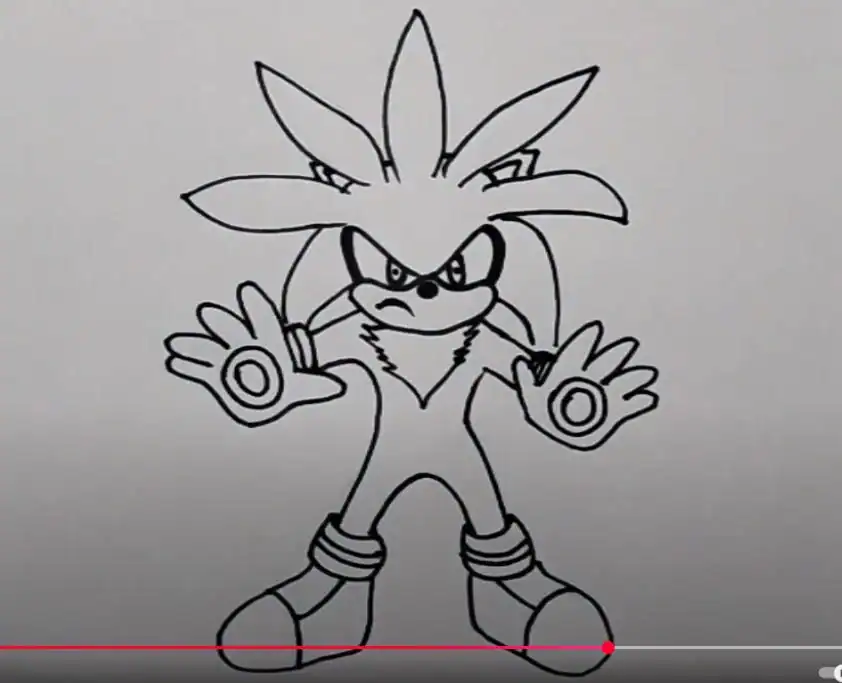
Create Silver’s legs that connect to the lower body. Then, add thick cuffs and draw shoes as shown.
Step 6. Coloring the Silver Hedgehog Drawing
First, use cream color for Silver’s hair, body, arms and legs. Next, use peach color to shade the snout and brown for the inner ears. Color it black. Now, color the chest fur and gloves white. Use yellow and blue for the cuffs of the gloves and shoes, and blue for the rings on the palms. Color the iris yellow with white light. Then, use white to color the sclera and black to color the edges. For the shoes, use blue, white and black.
You can see more sonic the hedgehog drawings:


