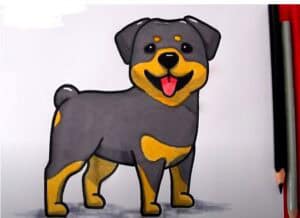
How to Draw Rottweiler Puppy with this how-to video and step-by-step drawing instructions. Dog drawing easy for beginners and all.

Please see Rottweiler Puppy drawing tutorial in the video below
Rottweiler Puppy Drawing Step by Step
Step 1
Again, start with a circle for the head and then add in the same facial guides.
Step 2
Using the shape you just drew, start drawing out the realistic shape of the rottweiler puppy’s face and head. The lower part of the face is squared, and there is also a lump for the lower jaw. Draw soft ears and move on to step three.
Step 3
Draw the big eyes, then draw the eyeballs on the inside. Draw the muzzle and mouth, as well as the mouth line for the lower jaw. Add some teeth and move on to step four.
Step 4
You are nearing the end of this tutorial. All you need to do now is draw eyebrows that are not really eyebrows, they are just markings that are part of the rotti’s coat design. Draw the nose and add wrinkles on the muzzle like you see here.
Step 5
Now you can draw large legs and feet. The toes are angled and square like you see here, and the footbed is somewhat flexible.
Step 6
Draw the other leg the same way you drew the first leg. This time, the leg will lean to the side because the other foot is in the way.
Step 7
For the final drawing step, all you need to do is draw the end of the dog. This should also include the hind legs and tail. Erase the instructions that you drew in step one as well as the mistakes you made along the way.
Step 8
And this is how the puppy looks when all is said and done. Color your rottweiler dog to your liking and add it to your drawing collection.


