How to draw One Direction Band Logo with this how-to video and step-by-step drawing instructions. Logo drawing for beginners and everyone.

Please see the drawing tutorial in the video below
You can refer to the simple step-by-step drawing guide below
Step 1
Before you start, you may want to get a ruler as you will be drawing some lines and angles. Start by creating a horizontal line.
Step 2
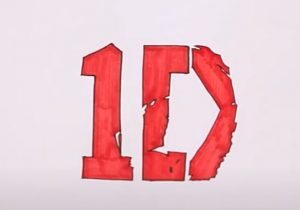
Using the line as the center guide, start drawing the number one the same way you see it in the text with an angled top and a rectangular bottom.
Step 3
You will now start drawing the letter D. To start, all you have to do is use the ruler eight times to draw a long, fat C.
Step 4
You’ll use your ruler again to trace the angled shape of the really rounded part of D.
Step 5
Now that the drawing is complete, you can start coloring the first letter or in this case a number. Note that there is a part on the base of number 1 that is missing some colors.
Step 6
Finally, color in the D and again, there are parts of the D that are missing colored spots. As you can see, the spots that lack color are kind of style-heavy. Clean up the drawing and then you’re done.
Step 7
This is the logo of One Direction, now you know how to draw the logo. You can start adding this band logo on your book covers and jeans.


