Please see the drawing tutorial in the video below
Minecraft Warden Drawing step by step
Step 1. Draw the Head
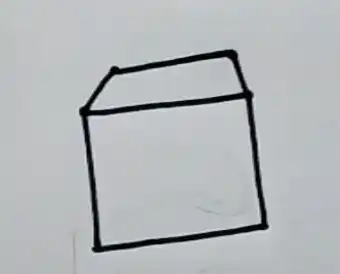
Start by drawing a blocky rectangle for the head of the Minecraft Warden.
Step 2. Add the Mouth and Horns
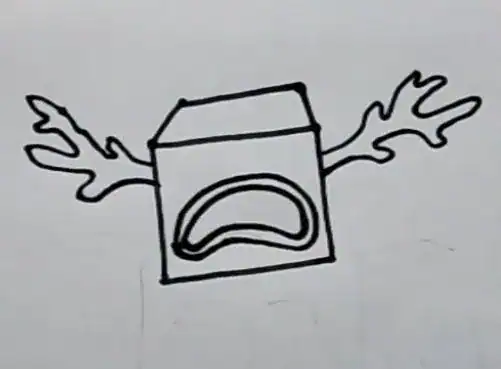
Sketch out the Warden’s wide, scowl-filled mouth.
Attach the curved horns on top of the Warden.
Step 3. Add the Body Sketch
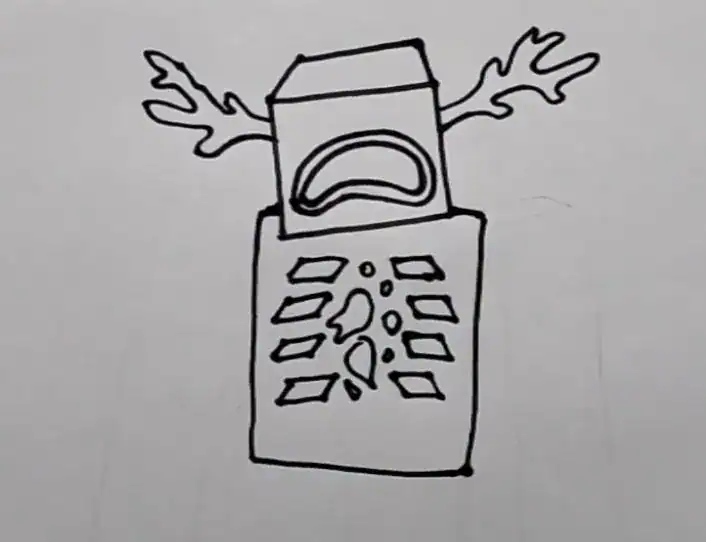
Underneath the head, sketch out a tall, vertical rectangle for the Warden’s body.
Draw four pairs of rectangular ribs that are evenly spaced apart.
Draw small spots and circles to outline the ghostly spirits.
Step 4. Draw the Arms
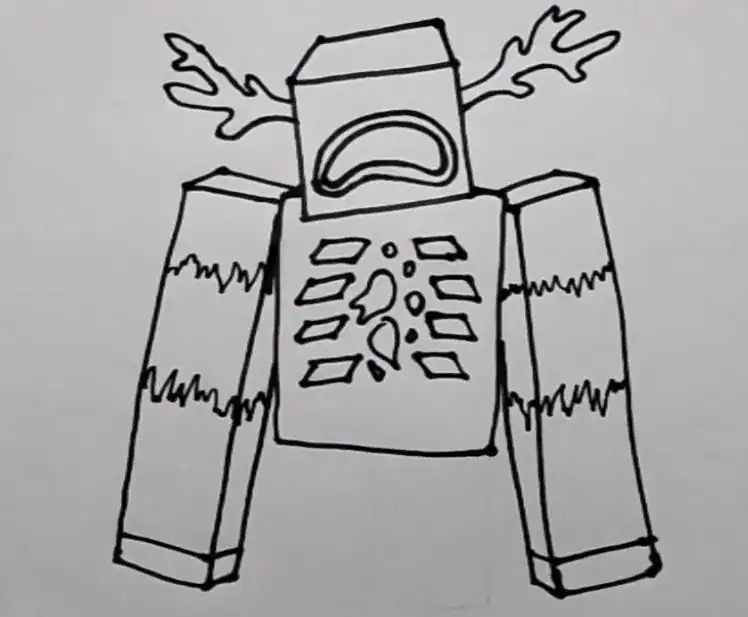
Attach the Warden’s long, blocky arms. Next, draw a jagged outline on the upper arms. Then, sketch out the hands near the ends of the arms.
Step 5. Add the Legs

Draw two rectangular legs below the body. Then, sketch out the toenails at the base of the legs.
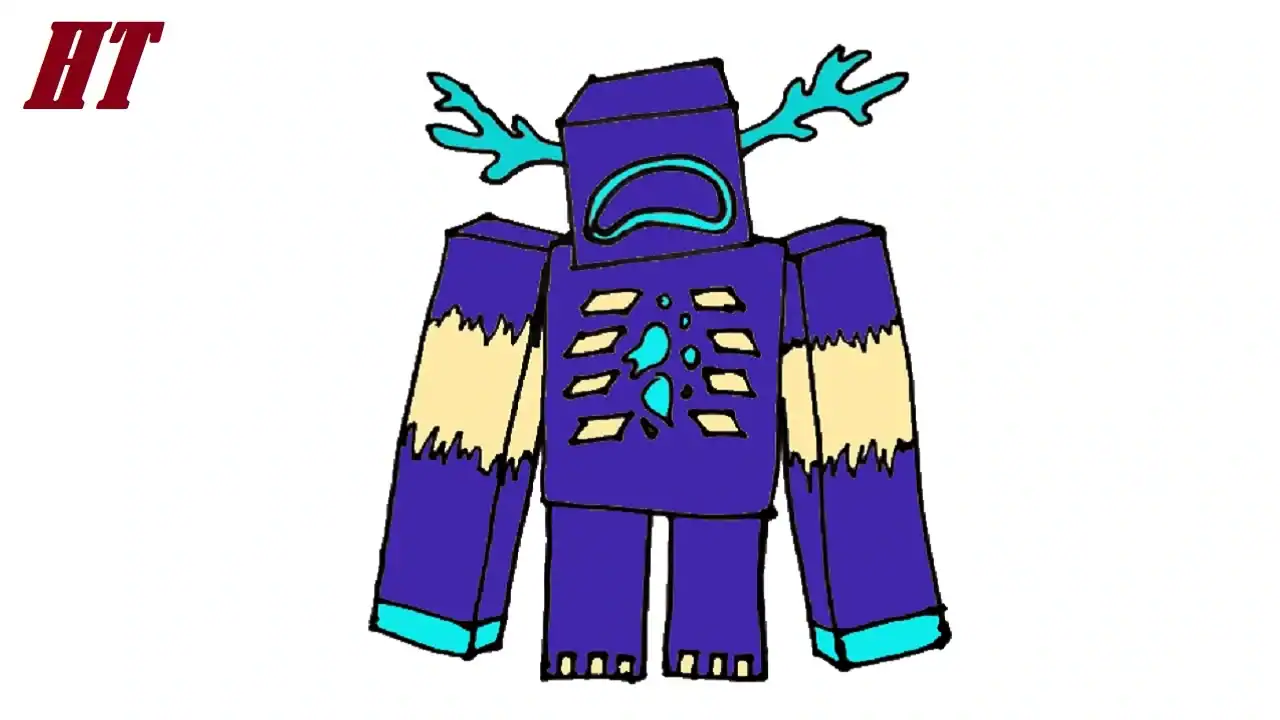
Step 6. Coloring the Minecraft Warden Drawing
First, color the horns, lips, hands, and soul spots in light blue. Next, color the inside of the mouth in black. Now, use a cream tone for the upper arms, toenails, and ribs. Then, color the rest of the body in dark blue.


