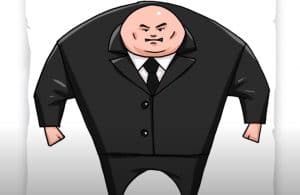
How to Draw Kingpin easy with this how-to video and step-by-step drawing instructions. Easy drawing tutorial for beginners and kids.

Please see the drawing tutorial in the video below
You can refer to the simple step-by-step drawing guide below
Step 1
First we will draw a stickman. As you can see, there are many differences of this image from the picture of a normal person. This stick man has no neck. The wearer’s shoulder and pelvis are very wide.
Step 2
Draw contours. The vertical line is the point that marks the symmetry of the face and the horizontal line will indicate the position of the eyes. A little below the head draw a very wide Kingpin body, slightly extending to the waist. Don’t forget that we have to use very light lines in this step.
Step 3
In this step we will draw the outline of the Kingpin clothing. Also don’t forget about the two favorite Kingpin accessories. We mean a stick and a cigar.
Step 4
Details of our character’s face features. Then delete all the guides located on the face.
Step 5
In this step we should draw the details of the body. As you can see, Kingpin is wearing a jacket, vest and a turtleneck. We wonder why does he have to wear so many things at once?
Buttons, collars and pockets are located on the jacket;
The buttons are on the vest;
Turtleneck.
If you follow this sequence, you will certainly not get confused.
Step 6
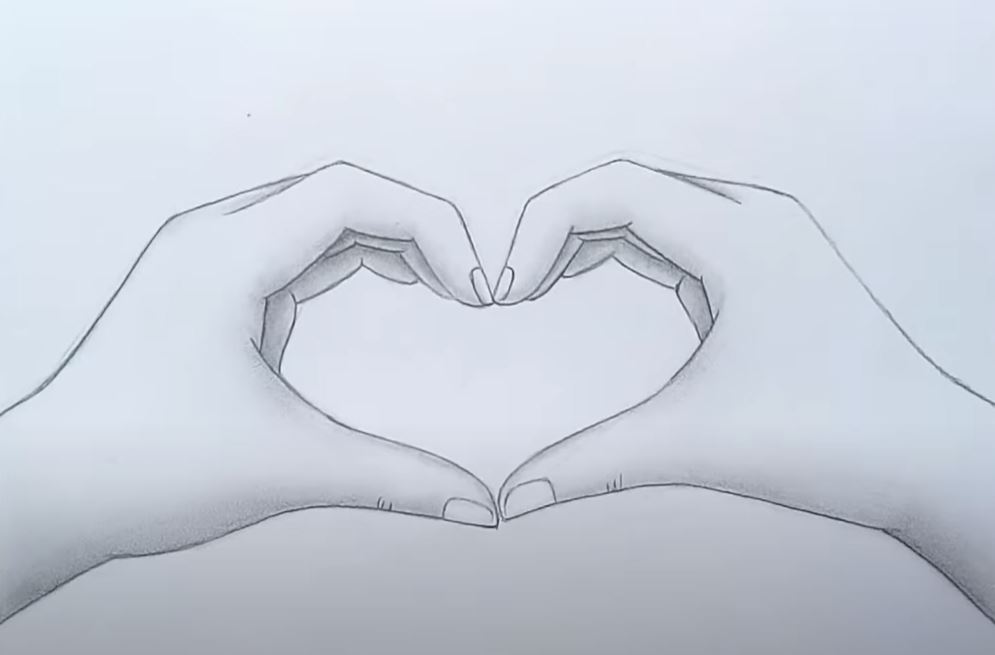
In this step we will draw Kingpin’s arm and hand. You can read more about how to draw the palm of your hand in this drawing tutorial.
Step 7
Now remove the excess guides from the legs and draw arrows and slight creases on the canvas.
Step 8
We have a great example of a comic book style. Now we should paint the shadow like we did in our tutorial on how to draw Cyclops from the X-Men.
They are contrasting, occupying a wide area and similar to black spots. These shadows we draw in two operations – outline the outline of the shadow and then paint over it.


