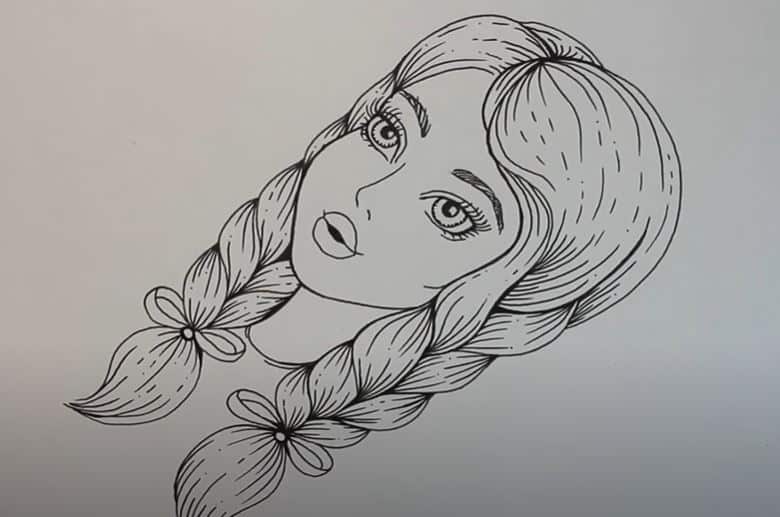
How to draw Beautiful Girl by pen with this how-to video and step-by-step drawing instructions. Easy drawing tutorial for beginners and eveyone.

Please see the drawing tutorial in the video below
Marian Rivera Drawing Step by Step
Step 1: Outline the Basic Shapes
Start by lightly sketching the basic shapes and proportions of her face. Pay attention to the shape of her head, the position of her eyes, nose, and mouth. Use simple geometric shapes to represent these features.
Step 2: Add the Facial Features
Now, begin to add the details of her face. Start with the eyes. Pay close attention to the placement and size of her eyes in relation to each other. Use horizontal and vertical guidelines to ensure they are aligned correctly. Draw the nose and mouth with similar precision, paying attention to the spacing between features.
Step 3: Shading and Shadows
Start shading the areas of the face to create depth and dimension. Observe the reference photo carefully to determine where the shadows fall. Use a lighter pencil for lighter areas and a darker pencil for shadows. Build up the shading gradually, and blend with your finger or a blending stump for a smoother look.
Step 4: Hair and Details
Continue to refine the details of the face, such as eyebrows, eyelashes, and lips. Then, move on to drawing her hair. Pay attention to the flow and texture of her hair in the reference photo. Use a variety of pencil strokes to capture the different strands and volume.
Step 5: Clothing and Background (Optional)
If your reference photo includes clothing or a background, you can choose to draw those as well. Keep in mind that the focus should still be on the portrait.
Step 6: Final Details
Take your time to make any necessary adjustments and add final touches to your drawing. Pay attention to small details, like highlights in the eyes and subtle wrinkles or textures on the skin.
Step 7: Erasing and Refining
Use your eraser to clean up any stray lines or smudges. This step is crucial for achieving a polished look in your drawing.
Step 8: Evaluate and Make Corrections
Step back and evaluate your drawing. Compare it to the reference photo and make any necessary corrections to achieve a likeness.
Step 9: Signing and Finishing
Once you’re satisfied with your drawing, sign it in a discreet corner. You can also add your own artistic flair, such as a unique background or additional details.


