How to Draw a Wizard Easy with this how-to video and step-by-step drawing instructions. How to draw cartoons for beginn ers and kids.

Please see the drawing tutorial in the video below
Wizard Drawing Step by Step
Step 1. Draw the eyes, nose and long beard
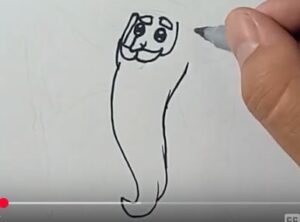
First draw the eyes, nose, eyebrows and long mysterious beard of the wizard as shown.
Step 2. Finish the Wizard’s head
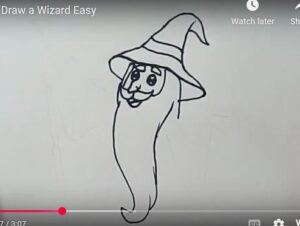
Next to finish the wizard’s head, we draw the magic hat and mouth, don’t forget to close the lines of the face, so the wizard’s head is complete.
Step 3. Draw the wizard’s hands
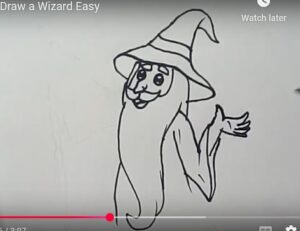
Extend a pair of divergent curves to form the sleeves. Connect them at the end with a curve and draw a “C” shaped line to indicate the opening of the sleeves. Draw some short curves to indicate the curves on the fabric. Draw the wizard’s hands, erasing if necessary. Use the curves to outline the wrists, palms, fingers and back of the hands.
Step 4. Draw the other hand and the magic wand
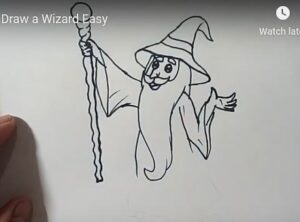
Extend a pair of divergent curves to form the remaining sleeves. Use curved lines to indicate folds and openings. Then, sketch out the hand. Extend a line below the hand and fold it back over itself, forming a wand. Extend a line above the hand in a spiral shape. Use a short line to attach it to the opposite side.
Step 5. Draw the Witch’s Robe
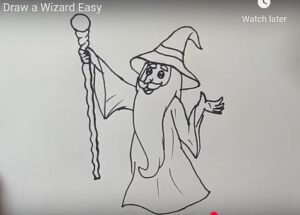
Draw the long cloak of the witch as shown.
Step 6. Draw the Shoes
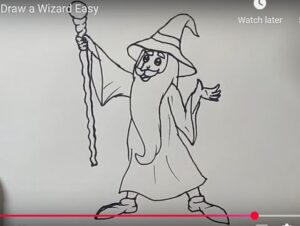
Use long curved lines to sketch out the witch’s shoes.
Step 7. Color

Finally, color in your witch.
You can see more drawings:
