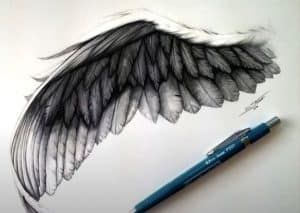
How to Draw a Wing easy with this how-to video and step-by-step drawing instructions. Easy drawing tutorial for beginners and everyone.

Please see the drawing tutorial in the video below
You can refer to the simple step-by-step drawing guide below
Step 1
First, we will show you how to draw a pair of wings of a bat or a dragon. This is the simplest type of wing – consisting of only a few simple shapes.
The first thing to do is draw two lines that meet at an angle as shown in the image on the left. This will define the outside of the wing.
Step 2
The bat’s wings are actually a modified form of the hand. Their wings have actually retained their fingers, which are only slightly longer.
Draw the remaining two fingers in the center of the wing. These fingers should get shorter as they get closer to the inside.
Step 3
Draw a curved line connecting the space between all the fingers of the wing.
In addition, most bats have a small claw located on the tip of the wing.
Step 4
Add a few stretch marks between the fingers of the wings, to create the effect of a thin film, and you’re done!
Step 5
To draw a bird wing, we will need to start with the same outline that we used for the first step of the bat wing.
Instead of fingers supporting a bat’s wing, a bird’s wing is a single shape.
Step 6
Draw an “S” shape running from the tip of the wing to the base of the wing. You will be left with something almost like a boomerang.
Step 7
Fill your empty wings with feathers. The smaller wing feathers are near the tip, and the feathers lengthen as they move outward.
Erase the outline from the previous step and your bird’s wings are done!
Hope you enjoyed this guide. Don’t forget to comment and like us on Facebook.
Thanks everyone!


