How to draw a Village House easy with this how-to video and step-by-step drawing instructions. Easy drawing tutorials for beginners and kids.
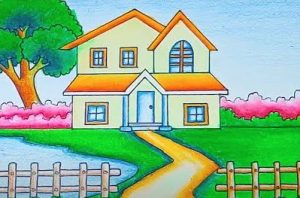
Please see the drawing tutorial in the video below
Village House Drawing Step by Step
Step 1. Draw the roof border

First, we draw the roof border of the first floor of the house as shown in the drawing.
Step 2. Add the roof, walls and pillars of the first floor
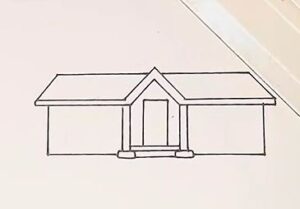
Complete the roof of the first floor, draw straight lines to form the walls and two pillars on both sides of the main door.
Step 3. Add the second floor
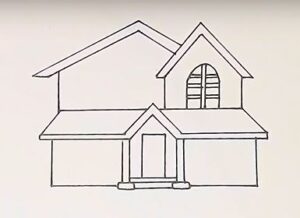
Next, draw the second floor of the house, note that the second floor has two parts with different structures according to the purpose of use.
Step 4. Add windows
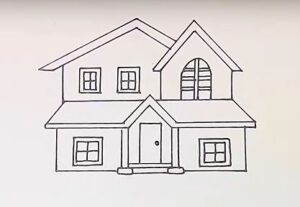
Add the windows of the house by drawing a square and dividing it into small squares.
Step 5. Add the landscape
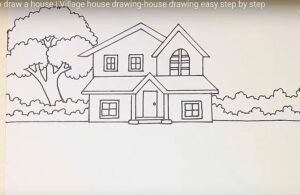
Draw trees behind the house because the countryside landscape cannot lack trees.
Step 6. Add the fence and the road
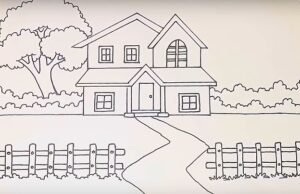
Draw two fences on both sides of the road and a zigzag road in the middle.
Step 7. Add the pond bank
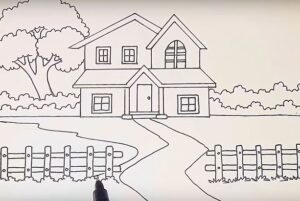
Add a slight curve to the bank of the pond located in the corner of the yard.
Step 8. Color the drawing

Finally, color your village house.
You can see more Village Screnery Drawings:


