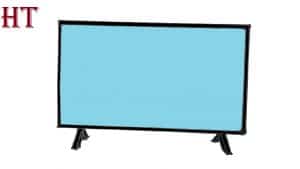
How to draw a TV easy with this how-to video and step-by-step drawing instructions. Easy drawing tutorial for beginners and everyone.

Please see the drawing tutorial in the video below
You can refer to the simple step-by-step drawing guide below
Step 1 – Draw the Border of the TV
Start the drawing with a simple rectangle and give it slightly rounded corners. Do your best to make sure that the shape isn’t curved or skewed and that your lines (excluding corners) stay straight.
Step 2 – Draw the screen
Inside the main border of the TV, draw a small rectangle for the screen of the TV. The corners on this one don’t need to be rounded.
When drawing, try and make sure that the distance between it and the larger rectangle is even on all sides.
Step 3 – Draw the front of the legs
Out of the bottom part of the television, add the front part of the legs. You can draw them at a slight angle like in the example.
Step 4 – Draw the front of the legs
Show again a bit the inside of each pin, as in the example provided.
Step 5 – Draw the back of the leg and finish drawing the line
Finally, add the back sections of the legs starting at the front and then the sides (same as the front sections).
You can see a step-by-step drawing of one of the TV’s pins in the example above. You can add another using the same steps but as a duplicate of the first one.
Once you’re done, you can trace your drawing with a black pen, marker, or darker pencil lines. Again you can use a ruler to help you with this.
Step 6 – Coloring the TV
To colorize the TV, make the legs and frame medium gray and the screen blue with a slight gradient in its upper left corner (white to blue). Gradient will help show light reflected from the smooth surface of the screen and will make the drawing a little more interesting.
An easy way to get gray is just using a regular pencil, and blue using a blue pencil.


