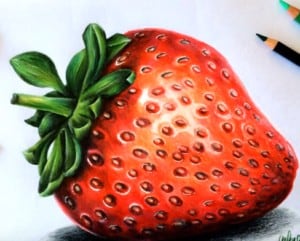
How to draw a strawberry easy step by step with this how-to video and step-by-step drawing instructions. How to draw fruits step by step for children.

Please see the drawing tutorial in the video below
You can refer to the simple step-by-step drawing guide below
Step 1
First, draw a long oval shape to create the tip of the strawberry.
Step 2
Next, outline a rectangle (or a triangle with a plane!) To form the bottom of the strawberry. Make sure the contour of this new shape is aligned with the outline of the oval. Do not make the body of the strawberry too long. It must be short and thick.
Step 3
For the small leaves on top of this fruit, just sketch a few lines as shown in the illustration above. You will have the opportunity to work later.
Step 4
Now combine your shapes to create the body of the strawberry. Note the bottom of the fruit to draw it as accurately as possible. If your strawberry looks like an apple, then you will miss the purpose of this lesson! :S
Step 5
OK! Make some leaves look better on top of your fruit. You can play with shapes and draw some leaves with pointed heads, with round heads or with a straight ending.
Step 6
Outline the achenes of strawberries. Do not overload your drawings! Just a few achenes set correctly can be enough.
Step 7
Add a little shadow on each achene. We want to make a deep impression for our illustrations!
Step 8
Finally, draw some shadows on the body of the strawberries and on the leaves. You can also draw a shadow under the leaves.
Step 9
Finally, use a colored pencil for the strawberry, this is an important step for it to look like the real thing! Note the white point on the right. Strawberries are shiny and some reflexes are important.


