How to Draw a Row Boat with this how-to video and step by step drawing instructions. Easy boat drawing tutorial for beginners and all.
Please see the drawing tutorial in the video below
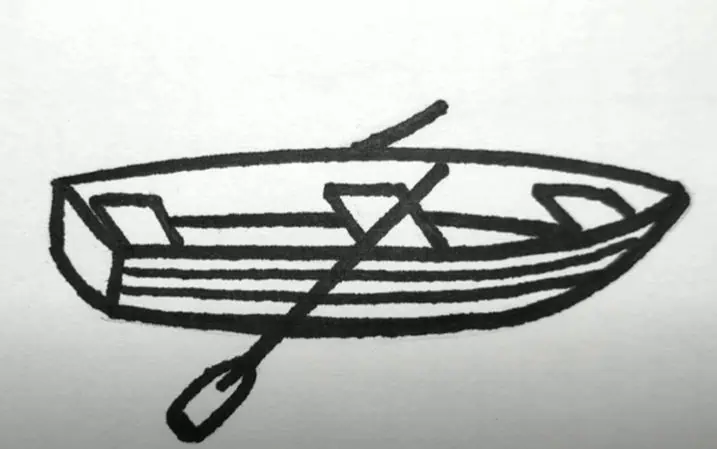
You can refer to the simple step by step drawing guide below
Materials
- Pencil
- Drawing Paper
- Crayons or Colored Pencils
- Black Marker (optional)
Step 1. Draw the frame

Draw the rowing boat frame by forming two triangles as shown.
Step 2. Sketch the hull

Outline the hull by drawing a curved line as shown.
Step 3. Add obstacles

Add obstructions inside the rowboat by creating rectangles as shown. These are the rowing boat’s braces, which also serve as seats for passengers. Create an angle inside the rowing boat by drawing a straight line.
Step 4. Draw the boat’s oars

In the middle of the boat’s body, draw an oar as shown.
Step 5. Complete the drawing

Use an eraser to erase some mistakes and use a pen to darken the lines drawn with a pencil.
Step 6. Complete the rowing boat drawing
Let’s add color to the rowing boat drawing! First, color the boat mainly with a brown pencil. Paint the inside of the rowing boat darker brown. Next, color the curls with a gray pencil. Then, shade the paddle handle with an orange pen. Finally, fill in the water with a blue pencil.
You can see more boat drawings:


