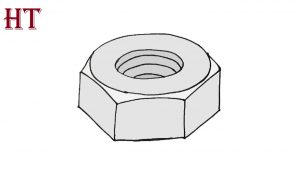
How to Draw a Nut easy with this how-to video and step-by-step drawing instructions. Easy drawing tutorial for beginners and kids.

What could be easier than learn how to draw a nut? Today we will show you that it is incredibly easy, and at the same time at the end of the lesson you will get a fairly realistic nut drawing.
Please see the drawing tutorial in the video below
You can refer to the simple step-by-step drawing guide below
Step 1
First let’s draw a normal oval. Try to make this oval as smooth as possible.
Step 2
Now, use two short, straight lines to draw the side surfaces and draw a bottom with a curve.
Step 3
Now, draw a round hole in the center of the nut and the edges using straight lines.
Step 4
Erase all unnecessary lines, draw the contours of the nut and the thread lines inside the hole.
Step 5
Now we add shadows by enlarging, not forgetting to take into account the light’s incident angle.
As we said at the beginning of our drawing lesson, it’s easy to learn how to draw a nut. The whole drawing process is divided into five very simple steps with very simple lines. But maybe you could have some difficulty, if that happens – let us know about it.


