How to Draw a Night Sky with this how-to video and step-by-step drawing instructions. Easy drawing tutorial for beginners and everyone.
Please see the drawing tutorial in the video below
You can refer to the simple step-by-step drawing guide below
Step 1 – Start with the crescent moon and stars
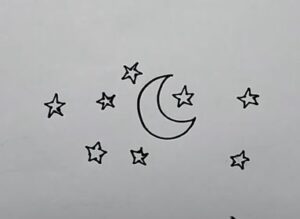
For this photo, we chose the crescent moon because it is one of the most beautiful phases of the moon. One way that you can make this moon easier to draw is to use a tool like a drawing compass.
Using this compass, you can draw the outer edge of the moon as if you were drawing a circle. You can then use it to draw the inner edge of the moon.
If you don’t have something like a drawing compass at hand, then just do your best to draw it freehand.
However you have finally drawn the moon, once you are done you can start drawing some stars. In this image, we’ve drawn six stars of different sizes, but you can draw more if you want!
We’ll also add some more detail in the final step when we add some color.
Step 2 – Next, start drawing the clouds in this image
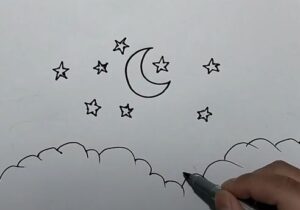
Now that you’ve drawn the moon and stars, you can start drawing the clouds at the base of the figure in this drawing of the night sky.
These clouds will be drawn as a continuous line and this line will be drawn with lots of small rounded hills in it. The cloud line will also bulge into three parts, as shown in our reference image.
We’ll add more cloud layers to create more depth in the next few steps, so let’s move on to the next section!
Step 3 – Draw the next layer of clouds
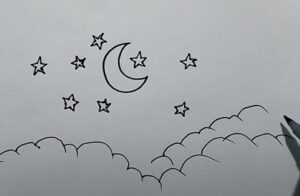
As mentioned in the previous step, the next few sections of this tutorial on how to draw the night sky will be based on increasing the mass of different cloud layers.
Using some similar bumpy lines to the ones you used for the first layer of the cloud, we’ll add another bulge above the first and second bulges of the first layer.
Then another bumpy line will extend from the right side of the second bulge, but there will be a gap at the end of it.
Step 4 – Now, continue drawing the clouds
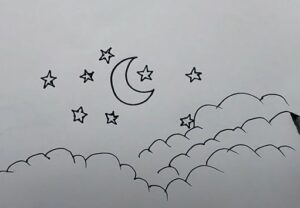
We’ll complete the second layer of clouds in this part of your drawing of the night sky.
You can extend the last part of this layer to the right of the space you left with the part you just drew in the previous step.
Once you’ve completed this class, we can complete the final steps in the next session and get you ready for the final step!
Step 5 – Complete your night sky drawing
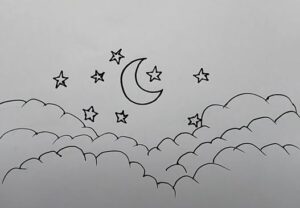
Now you’re ready to complete your painting in this step in our tutorial on how to draw the night sky. We’ll add more clouds to the picture in this section.
To do this, we used similar bumpy lines that extend from the edges of the page and down to the upper layers of the cloud. Once you’ve added these next cloud sections, you’ll be ready to move on to the final step!
You can also add any additional details you want to your image and there are lots of creative ideas for this!
Drawing more detail to the background would be a great way to do this, so if you were drawing one what kind of setting would you choose for it?
Step 6 – Complete your night sky drawing with a touch of color

This is the final step in drawing your night sky, and in this step we can finish off with some coloring fun!
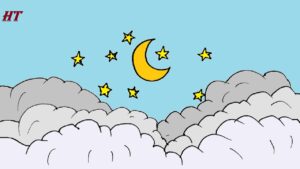
We used gradient blue shades throughout the sky to give it a lovely soft look, then used some bright yellows for the moon and stars.
We even added more stars to the drawing using some yellow dots in the sky.
You can combine any amazing colors you want for this image, then bring them to life using your favorite artistic mediums. We know that whatever you decide will look incredible, so be sure to let your creativity flow!
