Hello dear artists. On our site there are a large number of drawing lessons about cars. We have drawn famous brands like Ferrari, Lamborghini and Bugatti. And in today’s drawing lesson, we decided to switch to a different type of vehicle and present you with a lesson on how to draw a Motorbike (Yamaha R1).
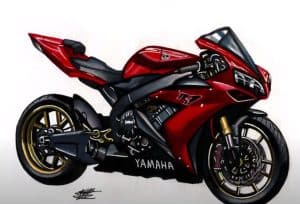
Please see the drawing tutorial in the video below
You can refer to the simple step-by-step drawing guide below
Step 1
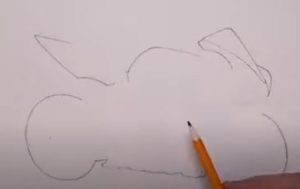
So let’s start with the main contours of the carcass. Take a pencil and use very light, barely noticeable lines to outline the angular body of our sports bike.
Step 2
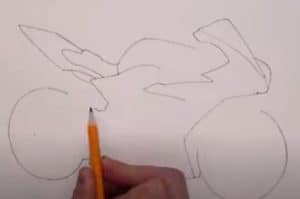
Sketch the handlebars, the bottom of the body, and the wheels. In this step we also use very light lines so that it will be easier for us to erase them later.
Step 3

Starting with this step we will draw the details of the motorcycle, so let’s use clear and dark lines. Carefully draw the handlebars, front panel and fork.
Step 4
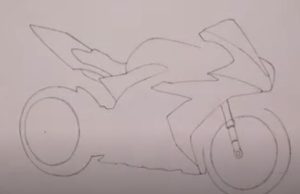
Continue using dark and clear lines to draw the saddle and side panels on the motorcycle body. Please note that the details in this area are different on different motorbike models.
Step 5
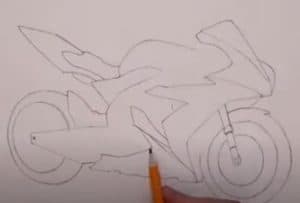
We go a little lower and draw the details in the lower part of the body of the motorcycle. Draw the engine slider, exhaust and side panels as shown in our example.
Step 6
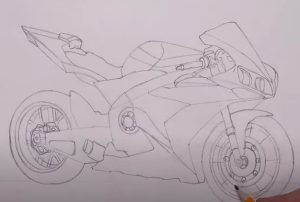
Here we need to be very careful, because we need to draw the wheels, and they should be as round as possible. Also draw the rims, front fenders and brake discs.
Step 7
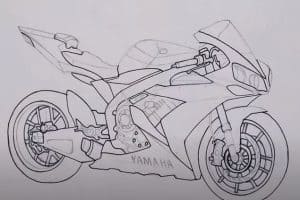
And we are in the last step of the lesson on how to draw a motorcycle. Use the classic stroke to add shadows to the least-lit areas of our motorcycle drawing.
Step 8
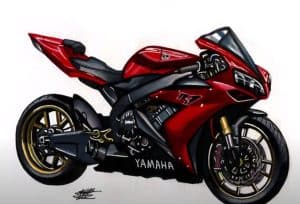
Finally perfect the motorcycle by coloring your bike.
This is just the first drawing tutorial in a series of motorcycle drawing lessons. In the following lessons we will draw many different types of motorcycles. Write the drawing lessons you want to see on our website and share our lessons with your friends.
You can see more:
