How to draw a Golf Cart with this how-to video and step by step drawing instructions. Ou’ll learn the fundamentals for drawing the profile of a golf cart.
Please see Golf Cart drawing tutorial in the video below
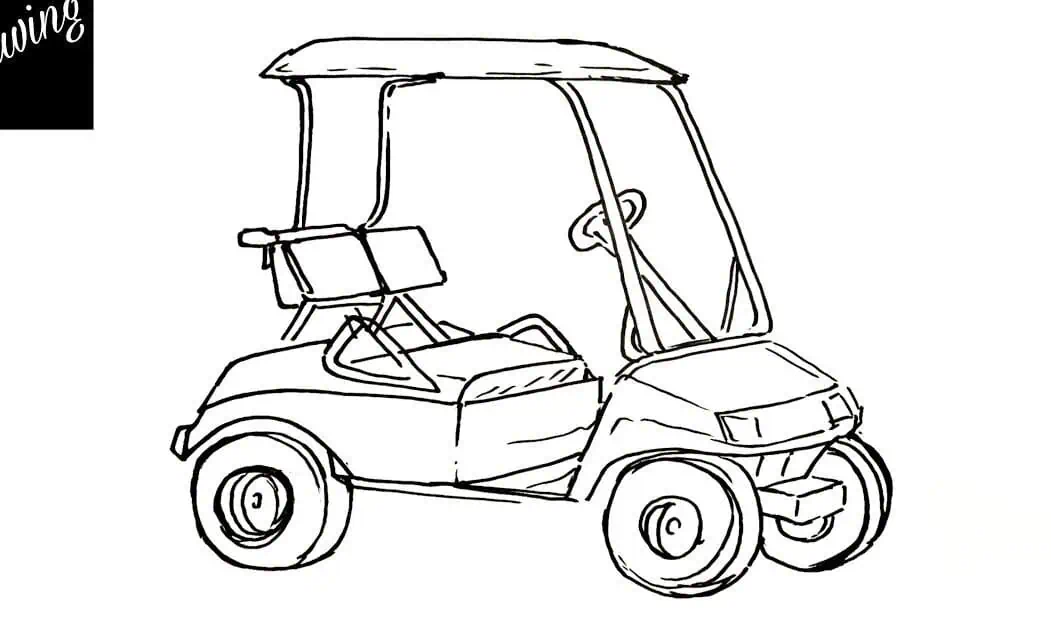
You can refer to Golf Cart simple step by step drawing guide below
Step 1. Shape the golf cart body
First, form the elongated body of the golf cart similar to the illustration.
Step 2. Sketch the resistance strips
Draw horizontal lines to outline the bumper strips near the bottom of the golf cart’s body.
Step 3. Draw the wheel
Draw the round wheels of the golf cart. Attach the wheels to the car body using straight lines as shown.
Step 4. Attach the safety bar
Forms a curved shape that attaches to the body of the golf cart to pull the bar securely.
Step 5. Shape the steering wheel
Draw the steering wheel attached to the front of the car.
Step 6. Add the roof
Now add a thin, elongated roof with diagonal poles connecting it to the golf cart’s body.
Step 7. Sketch the seat
Then, outline the shape of the chair by drawing a line as shown.
Step 8. Attach the rear safety bar
Create the rear safety bar by creating a vertical rectangle.
Step 9. Complete the golf cart drawing
Let’s add some color to our golf cart drawing! First, fill in the roof with a white pencil and its columns with a light gray pencil. Next, color the chair with a brown pencil. Now shade the body of the stroller with a blue pencil. Then, use black and dark gray to color the rest of the golf cart.