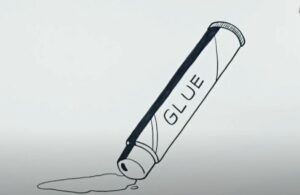
How to Draw a Glue Stick with this how-to video and step by step drawing instructions. This easy glue stick lesson is perfect for fairly young students looking to learn how to draw.

Please see Glue Stick drawing tutorial in the video below
You can refer to Glue Stick simple step by step drawing guide below
Step 1. Shape the body of the glue stick
Start by drawing a tall cylinder to make the body of the glue stick.
Step 2. Next outline the glue
Next, add a curved line to outline the glue portion of the stick.
Step 3. Attach the twistable part of the glue stick
Draw a twistable part at the bottom of the glue stick. Then add texture to it by drawing evenly spaced vertical lines.
Step 4. Add labels
Draw a rectangle with curved top and bottom edges to add the label to the glue stick body. Now, outline the words “GLUE” in the label.
Step 5. Draw the hat
Create a cylindrical cap for the glue. Then add texture to it by drawing evenly spaced vertical lines.
Step 6. Complete the glue stick drawing
Make your adhesive come alive and ready to use! Use a red pencil to color the cap and the twistable part of the glue stick. Next, color the glue stick label with red and white crayons. Use light yellow to color the glue. Finally, use white and yellow to color the glue stick body.


