How to Draw a Dilophosaurus easy with this how-to video and step-by-step drawing instructions. Dinosaur drawing tutorial for beginners and kids.
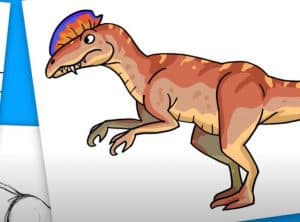
Please see the drawing tutorial in the video below
You can refer to the simple step-by-step drawing guide below
Step 1
First, draw the head. Includes vertically sloping neck. The most distinctive part of dilophosaurus is the rounded crest on the top of its head; Draw an oval on the face for this.
Step 2
Draw face and eyes. There will be a few more crest-like sections around its face, so draw some more ovals and don’t forget the eyes.
Step 3
Draw the body, with a long bumpy line sloping down the back and a series of lines for the dalmatian’s underside, leaving space for the legs.
Step 4
Draw the forelimbs hanging straight like the arms and having large, hook-like claws pointing upwards.
Step 5
Draw the back leg first, with one thigh starting very high above the body. For the bottom part, imagine an ostrich leg, with a large foot. Remember that birds have evolved from dinosaurs.
Step 6
Draw the second hind leg on the other side of the body. Imagine this leg raised like a running dinosaur. This will be bent and the foot, instead of flat with the ground, will hang slightly. Draw long, sharp toes on this one.
Step 7
Draw the tail, with two slightly bent curves meeting at a point. The tail will be almost as long as the body of a tyrannosaur.
