Please see the drawing tutorial in the video below
You can refer to the simple step-by-step drawing guide below
Step 1 – Draw the base of the shell
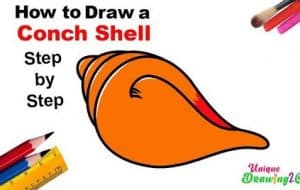
Start by drawing the largest part of the shell as shown in the example. Give it a bunch of bumps on one side and draw the other with some smooth curves ending in a rounded tip towards its bottom.
Step 2 – Draw the first set of parts
To the original part of the shell, add another smaller section, again with a bunch of bumps (but less). Then add an even smaller portion to that part with less bump.
Step 3 – Add the remaining parts and complete the line drawing
Draw another part out of the previous one and add the head.
Then trace your drawing with a black pen/marker or darker pencil lines.
Step 4 – Color the Shell
To color the conch shell, use colored pencils. In this case, it will have gradients that go from orange to yellow (like in the example). You can also use other color combinations if you like.
Create gradients for each section by carefully blending the pencil colors to create smooth transitions from one to the next.
If you find this difficult, you can also simply make the shell a solid color.


