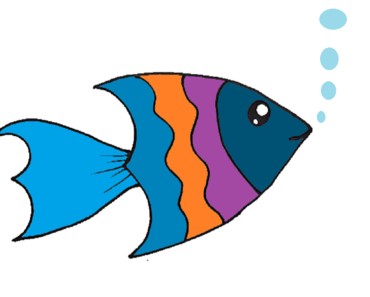
How to draw a betta fish easy with this how-to video and step-by-step drawing instructions. Cartoon Fish drawing for beginners and kids.
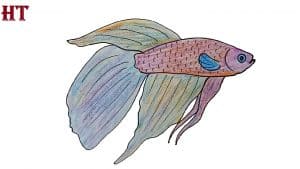
Please see the drawing tutorial in the video below
You can refer to the simple step-by-step drawing guide below
Step 1
First, we draw an elongated oval. This shape is on the left side of the paper. Don’t try to make this oval completely straight and symmetrical.
Step 2
Add the front part of our fish, which looks like a small cone with a smooth cone. The tail starts at the back of the body. So, with the help of smooth lines, we outline the contours of a wide sheet that will become the base of the tail.
Step 3
Draw the outline of a wide and flat tail. As you can see, it looks like two straight lines forming an obtuse corner. These lines are connected by a long, wavy line.
Step 4
Some of the steps in this tutorial will focus on drawing fins. These are very important organs that fish use as a rudder to adjust the direction of motion. Let’s outline the rough contours of the top fin in this step.
Step 5
So in this step we will draw a large fin located on the lower part of our fish’s body. The bottom edge of the fin should have a slight slope like in our sample.
Step 6
If you get bored with fin painting, we can please you. We have completed. This is the last pair of fins located in the lower head area.
Step 7
The fish’s fin is a highly elastic organ. As I said, fins are used to regulate movement, which means these should be very mobile organs. So in this step we will draw long thin segments forming fins.
Step 8
So we continue our tutorial on how to draw a Betta fish. Add small details to our fish head. This is a round eye, a small opening in the form of the mouth, and a bronchial opening.
Step 9
It is not necessary to draw fish scales completely. It’s great if you sketch out the scales using some diagonal lines that intersect and form a diamond.
Step 10
We always emphasize a special stage where you can rate your work, find all the bugs and fix them with erasers. Let’s do this because the next step is to work with colors.
Step 11
So we are almost done with this tutorial. Now we will work with flowers. We’ll use a light blue color and a darker color of the same color for the shadow.
