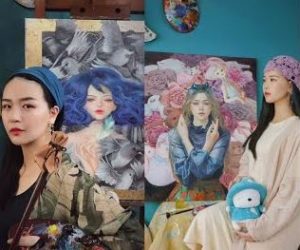
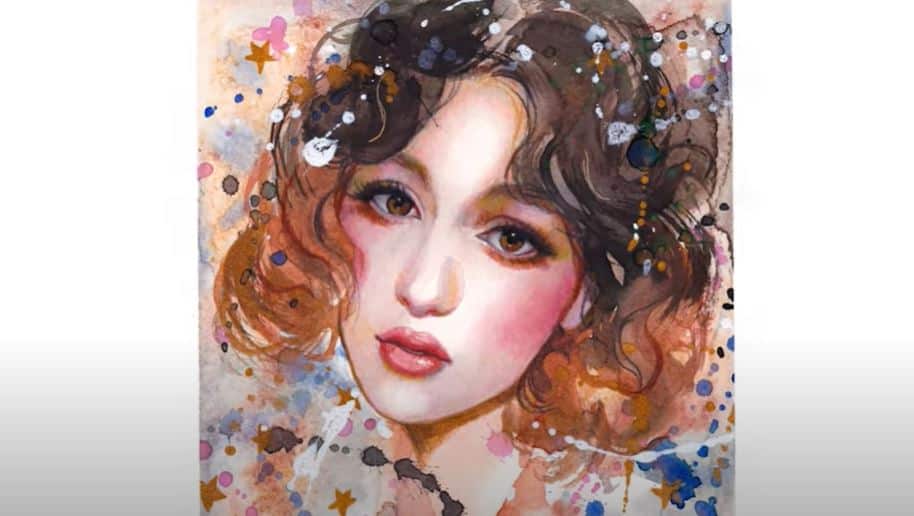
Beautiful Girl Painting by Cute Girl with this how-to video and step-by-step painting instructions.

Please see the painting tutorial in the video below
Materials you’ll need:
- Canvas
- Acrylic paints
- Paintbrushes of different sizes
- Water and a palette for mixing colors
- Paper towels or rags for cleaning brushes
- Easel (optional)
- Reference photo of a girl (for guidance)
Girl Painting Step by Step
Step 1: Prepare your workspace
Place your easel and canvas in a well-lit place. Make sure you have all your documents at hand and that you’re working on a protected surface.
Step 2: Sketch the outline
Use a light pencil to outline the rough outline of the girl’s face and features on the canvas. Focus on basic shapes and proportions. Use your reference photo to guide you.
Step 3: Block the base color
Start by basic coloring the girl’s face and background. Use a larger brush for this step. Don’t worry about details – focus on creating a general colored background.
Step 4: Fine-tune the features
Switch to a smaller brush and start refining facial features. Add more details to the eyes, nose, lips and other parts of the face. Pay attention to the values (light and dark) to size the face.
Step 5: Build layers
Acrylic paints are very versatile and can be layered. Start building layers by adding lighter and darker shades to create depth and dimension to skin tones. Blend colors smoothly.
Step 6: Focus on the eyes
Eyes are an important part of any portrait. Draw the eyes carefully, paying attention to shapes, highlights, and reflections. The eyes often convey the subject’s emotions, so spend some time here.
Step 7: Work on the hair
If the girl has exposed hair, start adding layers of color to create texture and volume. Work from the roots upwards, using different brush strokes to mimic the texture of the hair strands.
Step 8: Fine-tune details
Now it’s time to focus on the smaller details, like eyebrows, eyelashes and lip wrinkles. Use a thin brush and take the time to perfect these details.
Step 9: Background and Atmosphere
If your reference photo has a background, start adding it now. You can draw a simple version of the background or create an additional abstract background for the theme.
Step 10: Final Steps
Stand back and evaluate your painting. Make any necessary adjustments to ensure that colors, proportions, and details are balanced and accurate. Add any final highlights or shadows.


