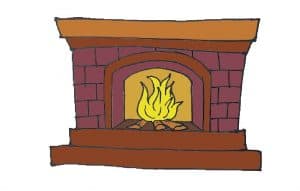
Fireplace Drawing easy with this how-to video and step-by-step drawing instructions. How to draw step by step for beginners and kids.

Please see the drawing tutorial in the video below
You can refer to the simple step-by-step drawing guide below
Step 1
First of all, let’s outline such a slightly rotated square. Try to make the most straight lines.
Step 2
Draw the top beam and the two flat columns also using lines.
Step 3
At the top we draw a tram, inside we draw a hole so the fire will burn.
Step 4
To make the drawing look uneven, we draw additional strips like in our example, to make the fireplace drawing more realistic.
Step 5
A fairly simple step in which we will need to add design details like the square at the top and the lines on the column (flute).
Step 6
We conclude this lesson on how to draw a fireplace by drawing flame blades inside the fireplace and adding shadows.
We don’t forget the tradition of giving advice at the end of our drawing lessons. The edges of the flame should be drawn with pale, curved and torn lines. In addition to the blades of the fire, also do not forget to draw the logs inside the fireplace.


