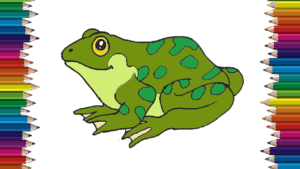
How to draw a Frog step by step. Cute Frog drawing easy with this how-to video and step-by-step drawing instructions. Easy animals to draw for kids and everyone.

Please see the drawing tutorial in the video below
You can refer to the simple step-by-step drawing guide below
Step 1
Draw an outline of a frog. Your drawing will go smoothly if you start drawing three ovals, as in my picture. Work on the contours of the body, hind legs and head. Also, add a dash for the front foot. At this point, it’s hard to imagine that this is a frog’s outline, but you will see these ovals gradually turn into a frog, as if in a fairy tale where a frog turned Prince.
Step 2
Frog head. It’s easy to draw two connections at an angle. These lines will act as a border for the frog head. Add two lines for the hind legs. Well, now it looks more like a frog drawing?
Step 3
Draw frog legs. Draw the original front contours of the frog leg into two parallel lines and add “fingers”. Do the same for the hind leg. Don’t forget to add a pencil line underneath your abdomen and draw a line above your back. Now is the time to delete the extra borders. Look, it’s like a frog is alive!
Step 4
Check all the ratios of your Frog drawings. In this step you should check your drawing ratio. Make any changes now, if necessary. Draw two eye rings and pay attention to the frog’s tail. A frog lost its tail when it matured but the small bump remained.
Step 5
The final step to draw a frog. Yes, we are here! Our drawing of a frog has been completed. Frogs are usually green but you can also paint them with pencils or crayons


