How to Draw the Ender Dragon from Minecraft with this how-to video and step-by-step drawing instructions. By following the simple steps, you too can easily draw a perfect Ender Dragon from Minecraft.
Please see the drawing tutorial in the video below
Ender Dragon Drawing step by step
Step 1. Draw the Head
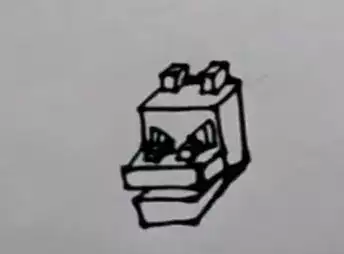
Start by drawing a rectangular shape for the Ender Dragon’s head. Then, add two small, blocky horns.
Create a thin, rectangular snout that attaches to the front of the Ender Dragon’s head. Next, add a sharp-edged rectangle underneath for the lower jaw. Then, draw a pair of nostrils on the snout. Don’t forget to erase the overlapping lines.
Draw the dragon’s bright, piercing eyes above the snout.
Step 2. Sketch the Body

Create a long, thin neck that connects to the back of the head. Then, create its large, rectangular body.
Step 3. Attach the Wing Bones
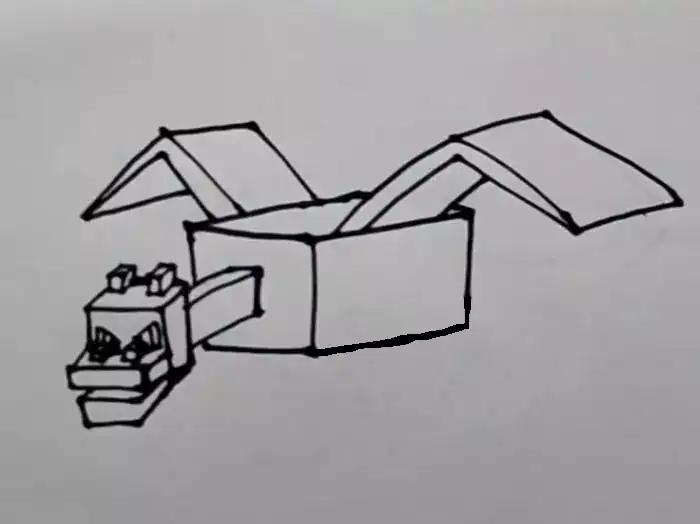
Create wing bone structures that attach to the sides of the Ender Dragon’s body.
Draw the outline of the dragon’s rectangular wing flaps.
Step 4. Draw the Legs

Draw four blocky legs that attach to the body.
Step 5. Add the Tail

Draw a long, tapered tail that extends from the back of the body. Then add small, blocky spikes along the top of the tail.
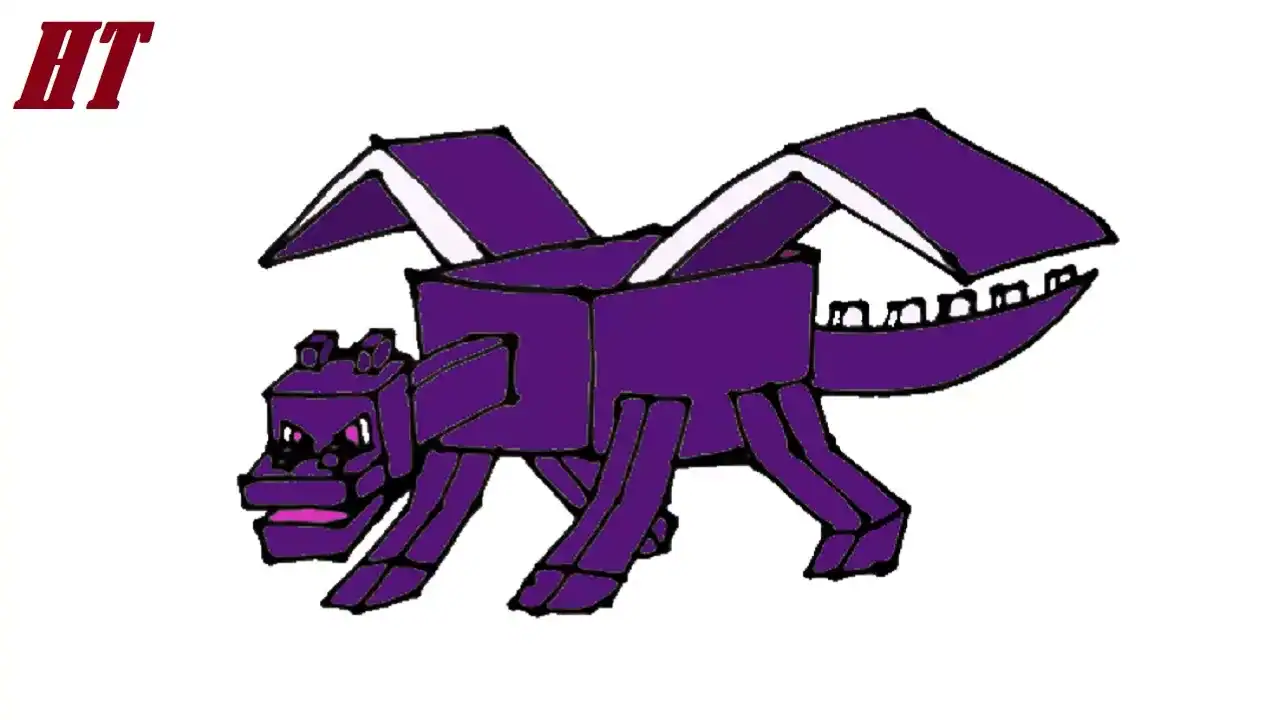
Step 6. Coloring the Ender Dragon
First, color the horns, eyes, wing bones, and spikes white. Use a light gray for shading. Next, shade the pupils and the inside of the mouth with a bright pink. Now, use black for the wing flaps. Then, color the head, neck, body, and legs with dark purple shades.
You can see more Minecraft characters drawings:


