How to draw a Hand with this how-to video and step-by-step drawing instructions. In this lesson we will guide you how to draw a hand in the simplest and easiest way while still having enough details for everyone.
Please see the drawing tutorial in the video below
Hand Drawing Step by step
Step 1. Draw the thumb

From the bottom of the paper, draw a curve from the wrist up to form the thumb, the thumb is the largest and shortest and has only 2 knuckles as shown in the illustration.
Step 2. Draw the index finger

From the thumb, draw a line to form a “V” shape for the index finger, the index finger and the remaining fingers all have 3 knuckles.
Step 3. Middle finger and ring finger

Next, draw the middle finger and ring finger by drawing continuous curves. Note that the middle finger is usually the longest finger on the hand.
Step 4. Draw the little finger
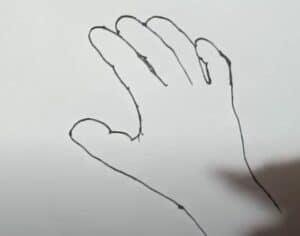
The little finger is usually the smallest finger and many people have a little finger that is more curved than the other fingers, continue drawing down to the wrist to form a complete hand.
Step 5. Nails and details

Finally, draw the nails for the fingers, you can draw long or short nails depending on your preference, add some wrinkles at the knuckles and the gaps between the fingers.
Step 6. Color
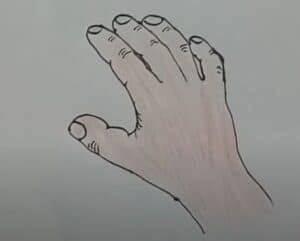
To finish, use the color to paint the hand you just drew, you can use different skin tones according to your preference.


4.5