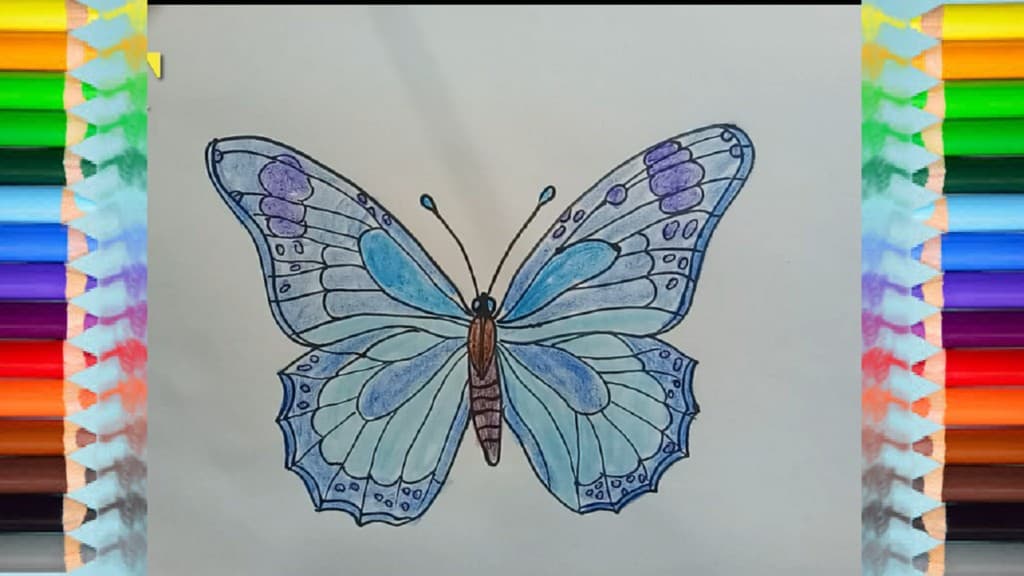
Simple Butterfly Drawing easy with this how-to video and step-by-step drawing instructions. How to draw a Butterfly for beginners and kids.

Please see the drawing tutorial in the video below
You can refer to the simple step-by-step drawing guide below
Step 1
At first let’s draw a circle. Then draw an oval below the circle. Then below the oval draw another oval, slightly longer than the first one.
Step 2
Continue drawing a butterfly. In this step, draw three lines to guide the wings. At first, use long and curved lines to draw the upper edges of the wings. Use the horizontal lines to draw the middle edge of the wing. And use two short and curved lines to draw the lower edges of the wings.
Step 3
With wavy lines connecting the flaps. Use wavy lines to connect the lines of the wing. Draw a beard and move on to the next step.
Step 4
In this step of the tutorial on a butterfly, we will start adding patterns. At first, draw large parts of the pattern, then small parts.
Step 5
Using the same method, like in the previous step, draw patterns on the lower part of the wings.
Step 6
And in the final step of our tutorial on how to draw wings, we will add the rest of the patterns for the wings. Use circles and ovals of different sizes to draw patterns on the sides of the wings.
Step 7
All that’s left is to paint your butterfly favorite!
It’s a drawing lesson on how to draw a butterfly for beginners. We hope this tutorial was interesting and informative for you. If you want to draw more complex, visit our lessons on how to draw Wolverine and how to draw a samurai. Stay tuned and stay tuned for new drawing lessons.


