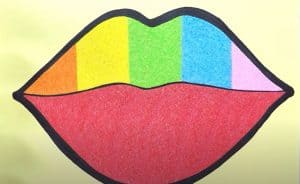
Lips Drawing and Coloring for Kids with this how-to video and step-by-step drawing instructions. Coloring pages for beginners and kids.

Please see the drawing tutorial in the video below
You can refer to the simple step-by-step drawing guide below
Step 1
Start by drawing a straight, horizontal line. This guide will aid in shaping the upper and lower lip, as well as locating the point of intersection between the two lips.
Step 2
Draw a curved line above the horizontal line, enclosing a semicircle. This will form the upper lip.
Step 3
Draw a curved line below the horizontal line, forming a thicker semicircle. This will form the lower lip.
Step 4
Draw two curved lines on top of the upper lip. This will help define the contours of the lips.
Step 5
Erase the guide lines from the upper lip.
Step 6
Draw a curved line through the lower lip, better defining its shape.
Step 7
Erase the guide lines from the bottom lip.
Step 8
Draw a small dot at each end of the lip, indicating the corner of the mouth. Then draw a wavy line between the dots, allowing the line to pass above and below the original horizontal line. This line defines the shape of the lips at the point where the two lips meet.
Step 9
Erase the horizontal guide from the lips. Detail the lips by drawing short, curved lines of different lengths.
Step 10
Your lip color. Lips are usually presented as red or pink, but with a little lipstick you can turn them into any color you can imagine.


