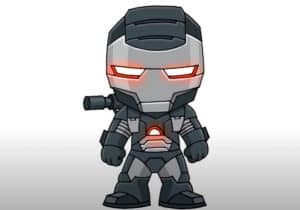
How to Draw War Machine easy with this how-to video and step-by-step drawing instructions. Cartoon drawing tutorials for beginners and kids.

Please see the drawing tutorial in the video below
You can refer to the simple step-by-step drawing guide below
Step 1
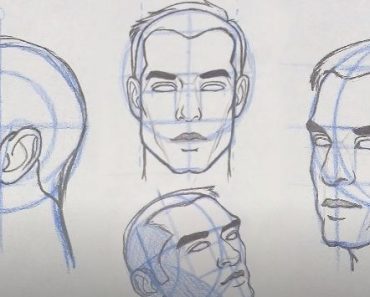
First we will draw a head. As you can see, the head is wider than the forehead and tapers towards the jaw. In addition, we will draw a traditional cross of lines on the face. The vertical line is the line of symmetry on the face. The horizontal line indicates the position of the eyes.
Step 2
Then we will draw the body, arms and legs. Please pay special attention to the ratio: the length of the head should be greater than the length of the body and legs combined.
Step 3
Okay, time to sketch the eyes. Then don’t forget to erase the guidelines from the previous steps to get a clear photo.
Step 4
You can see a lot of details in this step. Draw the areas under the eyes, then work the areas above the eyes. This wi helps you not to get confused with a lot of lines.
Step 5
We come to the end of the article in which we tell you how to draw Chibi War Machine. In this step we will sketch the armor covering the body.
Step 6
So we have one final step. Draw armor covering the legs and arms. There is a nice bonus of chibi drawing lessons – you don’t have to draw fingers and feet. That’s a really good thing because drawing palms, fists and feet – it’s a pretty difficult problem.
So here’s the first Chibi drawing tutorial, dear readers. That’s why this lesson might look a little strange. But in the plan we have a lot of Chibi. Thank you all for your attention, we’ll see the next day!


