How to draw sub zero easy with this how-to video and step-by-step drawing instructions. How to draw step by step for beginners and everyone.
Please see the drawing tutorial in the video below
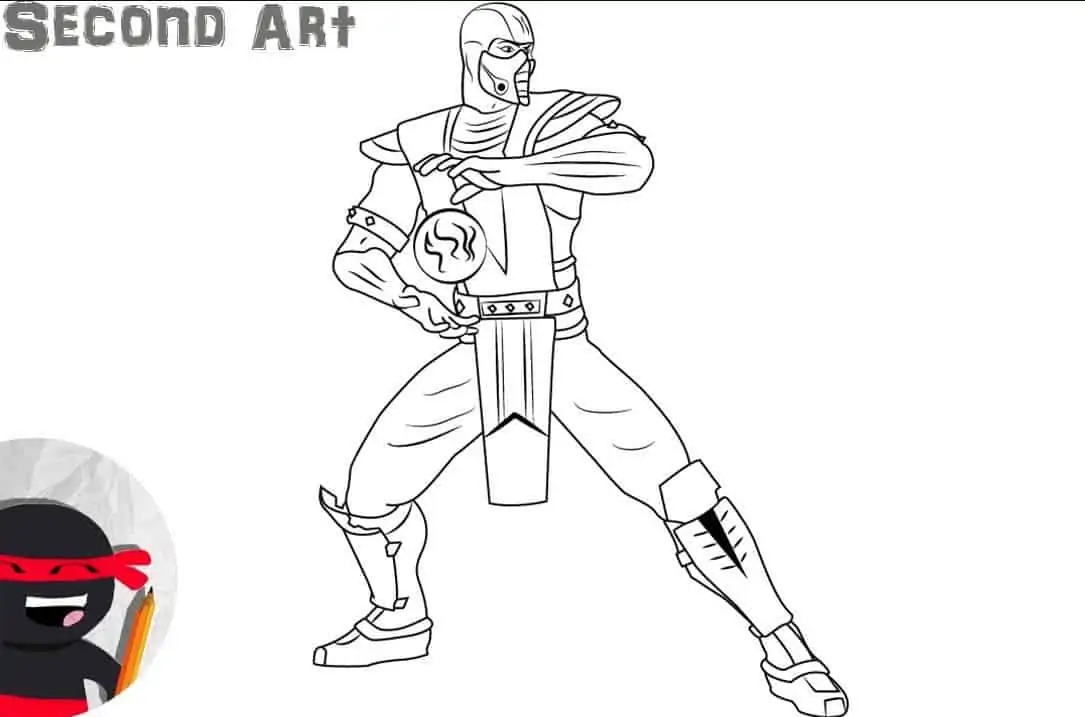
Sub zero Drawing step by step
Step 1
Let’s first outline the Sub-Zero’s general proportions and stance. Notice that Sub-Zero is in a waiting position – he’s slightly crouched, arms bent at elbows, head tilted slightly forward. Start drawing with the head – outline the oval as a guide for the head. Use simple lines to draw the spine, hands, and legs. Let us remind you of one of the basic rules of proportion – the average human’s growth rate is seven heads.
And, as in our previous drawing lessons, we want to remind you that in the first steps you should try not to press down on the pencil too hard. Use light and smooth strokes to sketch in these steps.
Step 2
From this step we will create the body of the Sub-Zero, i.e. add volume to the shape using simple geometric shapes. Here we will add volume to the upper body. But first outline the line of the eye, located near the center of the oval. Then draw the upper part of the samurai vest – kataginu. In the next steps we will try to visually convey the structure and texture of it made of rather hard tissue.
Step 3
Now we add the volume to the lower part of the Sub-Zero body. First, outline the belt with two slightly curved lines and the bottom of the kataginu in the form of an elongated rectangle. Then add volume to the pins using cylinders. Outline the knee using circles. Outline the foot – note that the right foot is looking towards us and the left foot is turned to the side.
Shapes and instructions are ready. From the next step, you should press harder with the pencil to get bolder lines on your drawing.
Step 4
And we continue our tutorial on how to draw Sub-Zero step by step. In this step, we will add the details to the top. Make the top and left sides of the oval a little narrower (don’t forget that the top isn’t round). Draw the line of the neck and add some folds to it. Outline the shape of the nose and chin under the mask. Then draw a line above the eye line to open the hood.
Step 5
Now detail the head of the Sub-Zero. First draw the eyes, using the eyeliner from the second step. Draw it as a narrow oval. Draw eyebrows using a curved line. Note that Sub Zero’s interface is very focused and focused. Add wrinkles above the eyebrows and under the eyes. Draw the outline of the ears under the hoodie. The top edge should be level with the eyebrows, and below the ears – level with the tip of the nose. Start drawing the mask. There are many types of Sub-Zero masks. From the simple mask like in the first Mortal Kombat to the super detailed like in Mortal Kombat X. And when we draw Sub-Zero from the movie, the mask will be just like in the Mortal Kombat movie. Draw folds on the bottom edge of the mask, just below the neck.
Step 6
In this step, we draw Sub-Zero’s neck and body. First, draw the creases on the neck using short strokes. The head is turned to the side, and so a lot of folds are formed in the neck area and the upper part of the chest. Move on to drawing the body. Darken the lines of the vest and draw the shape of the shoulders. Notice, the waist in the middle of the abdomen is slightly wider than the sides. Darken the hanging part of the kataginu and move on to the next step.
Step 7
In this step we draw Sub-Zero’s hands. Let’s start with the deltoid muscle of the right hand (the left deltoid is under the vest) – describe it in a semicircle. Then draw the biceps, triceps, elbows and forearms. Pay attention, extend the arm in the middle of the biceps and the forearm retracts into the palm. Draw folds in the areas of the elbows and armpits. Sketch the sleeve protectors and start drawing the palm. First draw the right hand. Draw the back of the hand, knuckles and clenched fingers. Switch to the left hand. Draw an open palm with fingers. Draw an open palm with fingers. Outline the phalanges and wrinkles inside the palm.
Step 8
The upper part of the Sub-Zero is done and we can start drawing the lower part. So, we’ve determined the leg’s pose and volume in the previous steps, now it’s time to get into the details. We need to convey the shape of the leg under the pants, so don’t forget to draw the thigh and calf muscles. Now about the folds of tissue – they are formed in places where the fabric is tightly pulled or compressed. Draw the inner folds of the hips and in the knee area. In the same step, draw wide strips of fabric on the Sub-Zero’s shin. Erase all the guides, draw the legs and go to the last step of how to draw the Sub-Zero.
Step 9
Remains the last stage – adding the shadows, but first we need to erase all unnecessary guidelines and strokes. Now look at Sub-Zero and determine where the light falls. In our example, the light source is behind the warrior, and to convey it, we hatch the inside of the head and body, leaving a strip of the light around the figure. Start with head. Hatch the internal part leaving a little strip of light around the head. Draw the strip of shadow on the chest using a light hatching. Add the shadows to the hands and legs the same way as you did it with the head. In order to figure was as realistic as possible, add more shadows in places of folds and leave more light in convex areas.
It was the tutorial on how to draw Sub-Zero step by step. We hope you enjoyed this drawing lesson. Ahead you will find a large number of drawing lessons about Mortal Kombat universe. Subscribe on us in social networks, stay tuned and wait for new drawing tutorials on HTDraw.com!