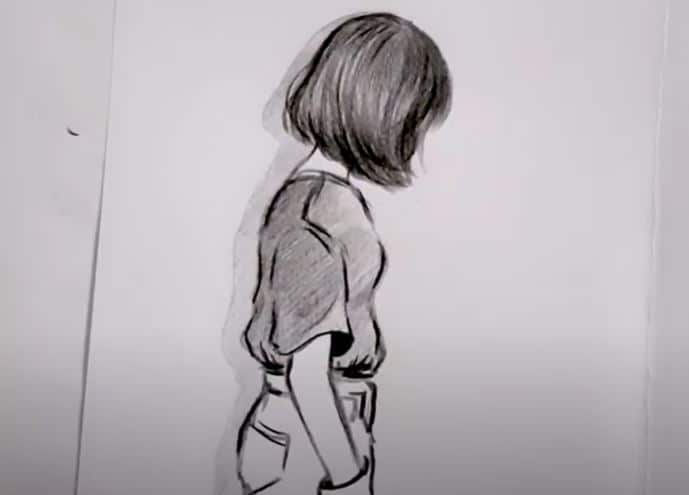
How to Draw Izuku Midoriya from Boku no Hero Academia by pencil with this how-to video and step-by-step drawing instructions. How To Draw Anime easy for beginners and everyone.

Please see the drawing tutorial in the video below
You can refer to the simple step-by-step drawing guide below
Step 1
You use the ruler to divide into 4 small boxes to draw correctly
Step 2
The head should be drawn as a medium-sized circle with slightly pointed chin. In the circle, the two lines that should be drawn will intersect in the middle. These lines are very useful to include face details. Using the point where the lines are crossed, the eye must be drawn with the eyebrows above them and the lips just above the chin. Just outside the circle, our character’s ears should be drawn as seen in the image.
Step 3
This is the point where we draw the final lines, from the character’s spiky hair to his entire outfit. However, before we draw, the dummy we created will need to be slightly blurred. This should be done so that it does not hinder your detailed flow. Using traces of the dummy left over, draw the last lines of the partial character starting from the torso or head.
Step 4
This is the most interesting part of our tutorial, where we roll out colors and paint. Basically, we’re transforming Izuku’s interface from bland to beautiful. So drag your colors green, brown, black, white and other colors in the image above and let the painting.
Step 5
Now that we have reached this stage in our tutorial, we must introduce a natural perspective to the artwork by drawing shadows. This should be done using black as opposed to straight black. As a beginner you need to take this step right and create a masterpiece, here is a guide to get you through.


Can you draw Eri? That would be great, thx