How to Draw Cream The Rabbit with this how-to video and step-by-step drawing instructions. Easy cartoon drawings tutorial for beginners and all.

Please see the drawing tutorial in the video below
Cream The Rabbit Drawing step by step
Step 1. Draw Cream The Rabbit’s Face
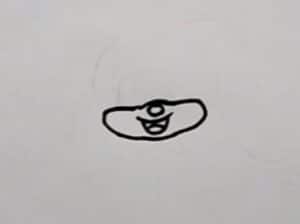
First draw Cream The Rabbit’s signature face, draw a small circle for her nose, a smiling mouth and her face shape.
Step 2. Draw the Eyes
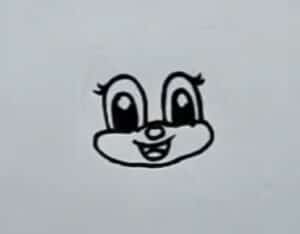
Next draw her eyes right above her face, draw an upside down “U” shape, add a smaller “U” shape inside to form the eyeball, similarly draw the other eye.
Step 3. Finish the Head
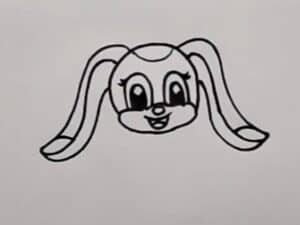
Finish the head with a closed curve from one side of the face to the other then draw the pattern on the head and the signature long ears, for the ears draw a line separating the ears into the inner and outer parts, add a colored line at the end of the ears as shown.
Step 4. Draw the Dress
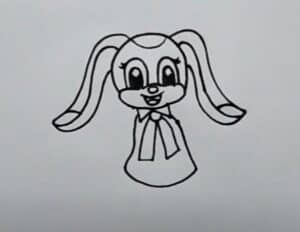
Next draw a pretty dress and a bow for Cream The Rabbit.
Step 5. Draw the Hands
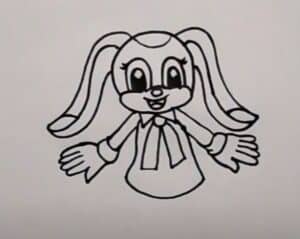
Continue to draw two hands on both sides of Cream The Rabbit’s shoulders, her hands are wearing gloves.
Step 6. Add Legs
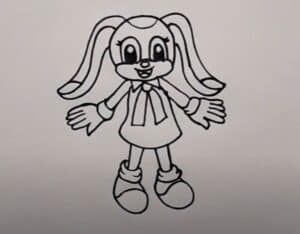
Finally draw her legs, add a big paper for Cream The Rabbit.
Step 7. Coloring
Finish Cream The Rabbit by coloring her