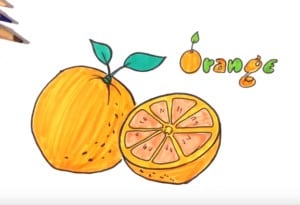
How to draw an orange Fruift easy step by step with this how-to video and step-by-step drawing instructions. How to draw step by step, Fruits drawing for kids.

Please see the drawing tutorial in the video below
You can refer to the simple step-by-step drawing guide below
Step 1
Draw a circle to start your orange. Draw it slowly and do not make it too perfect. Remember, Orange has a few bumps and ridges along the way. If it is a bit uneven and asymmetric, that’s fine. Make the head just a little flat, as this is where the root should go.
Step 2
Make your trunk. This is easy. You can draw it as it appears in the image for example, a rectangle is rounded on either edge, or you can draw it like a rectangle with harder edges.
Step 3
Draw straight lines from the root like the real orange. Do not draw perfect lines or even. Give them a little imperfection. Colors in your trunk.
Step 4
Draw your leaves. Make a simple leaf shape, and draw a line through it. Now draw the straight lines out from it on both sides as shown in the example image.
Step 5
Fill your orange with a pencil or color marker pen. Now color your leaf and you’re done.


