How to Draw a Water Gun with this how-to video and step by step drawing instructions. Follow along with these basic 9 drawing steps. You will learn the basics for drawing a water gun.
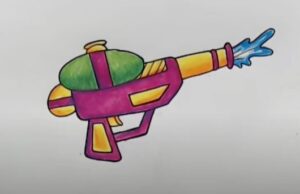
Please see the drawing tutorial in the video below
You can refer to the simple step by step drawing guide below
Step 1. Sketch the water tank
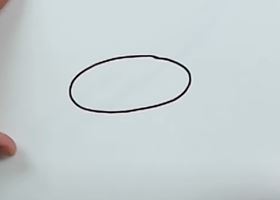
Outline the water tank by drawing an elongated oval.
Step 2. Draw the water tank
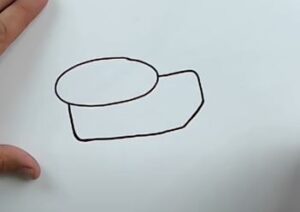
Draw the water bottle holder by creating two rectangles.
Step 3. Sketch the shape of the gun
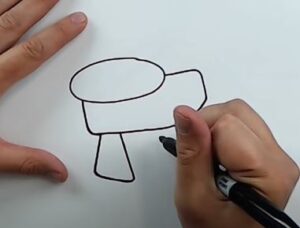
Outline the shape of the gun by forming lines as shown.
Step 4. Draw the trigger guard
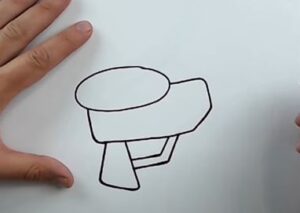
Draw the trigger guard by making two C-shaped lines.
Step 5. Attach the lower muzzle
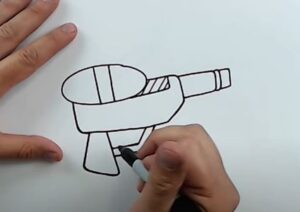
Attach the lower muzzle to the water gun barrel by first drawing an L-shaped line, then drawing a smaller rectangle attached to it.
Step 6. Attach trigger
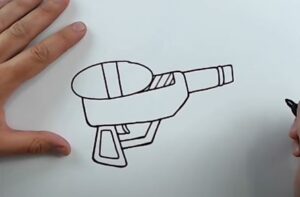
Create a trigger by creating a rectangle. Then, attach the drawn rectangle to the body of the water gun by drawing two lines as shown.
Step 7. Add water gun details
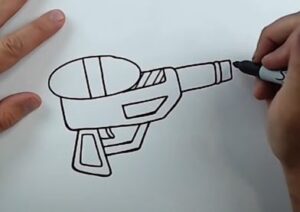
Let’s add details to the water gun by creating lines as shown.
Step 8. Create water drops
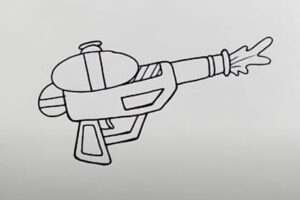
Create water droplets by forming blob shapes similar to the illustration.
Step 9. Complete the water gun drawing

Let’s add a little color to the water gun to complete our drawing! First, shade the water tank with a yellow pen. Next, color the water tank holder, trigger, and muzzle of the water gun orange. Now, color the lower body and details on the grip red. Then, shade the rest of the gun with blue. Finally, color the water drops with a darker blue pen. You can paint other colors according to your preferences and creativity!
