How to draw a face mask very easy with this how-to video and step-by-step drawing instructions. Easy drawing for kids and everyone.
Please see the drawing tutorial in the video below
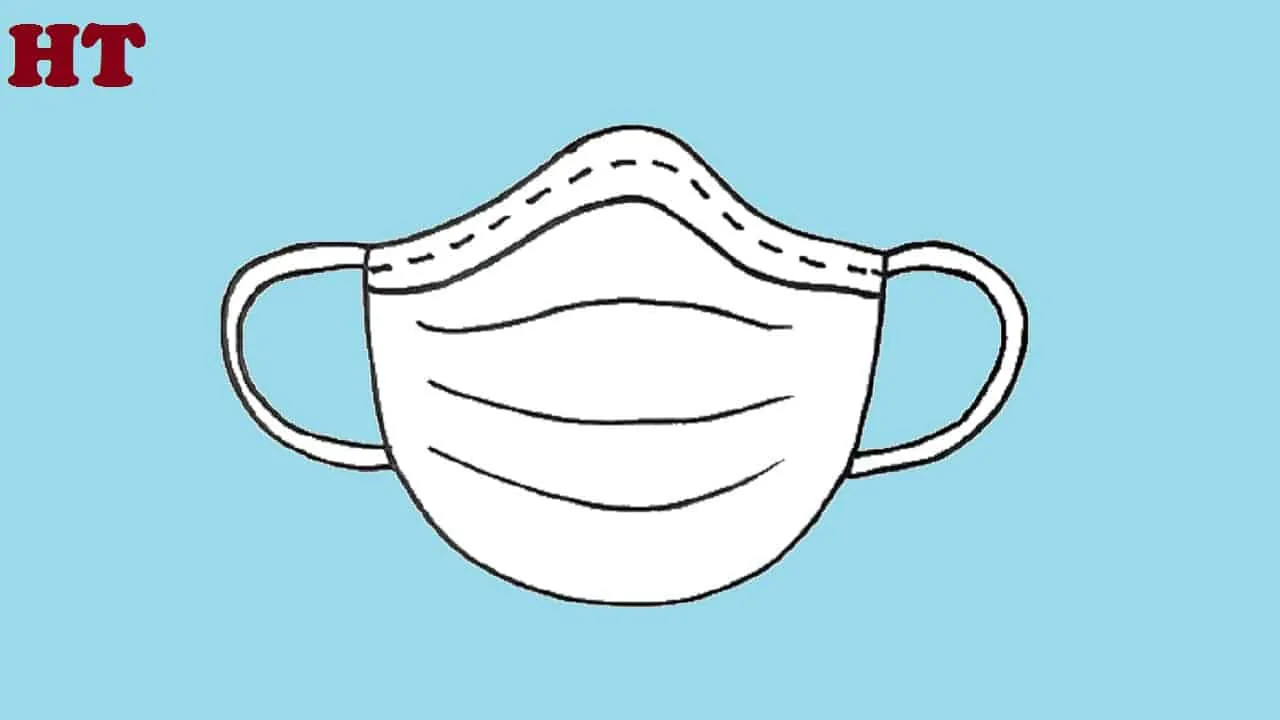
Face mask Drawing step by step
Step 1. Draw the basic shape of the mask

First, we draw the basic shape of the mask, it has a shape below that is similar to the letter “U” on top, cleverly closed by a “V” shaped curve as shown in the illustration.
Step 2. Add the border

Next, draw the border above the mask, the border of the mask will be stiffer, it will help to fix it firmly when we wear the mask.
Step 3. Add details

On the border of the mask, draw a line through the lines as evenly spaced as shown in the drawing.
Step 4. Add folds

In the middle of the mask, draw 3 folds, they allow for elasticity to help the wearer feel comfortable in the nose and mouth.
Step 5. Draw the mask straps

Next, draw the mask straps, which are located on both sides of the mask.
Step 6. Coloring
Finally color your mask, it is usually white, blue or black,…