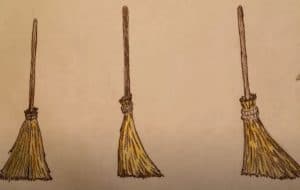
How to Draw a Broom Easy with this how-to video and step-by-step drawing instructions. How to draw step by step for beginners and kids.

Please see the drawing tutorial in the video below
You can refer to the simple step-by-step drawing guide below
Step 1
To draw a broom, we will first need to outline the outlines of the bristles and the handle. Try not to press too hard on the pencil. Use very light lines to facilitate changes in the next steps.
Step 2
Add one more line to the handle and make it thicker. Draw the bottom part of the bristles, making it more bouncy. At this step your broom drawing may look more like a shovel, but in the future we will of course correct this.
Step 3
Now draw the ropes holding the bristles. Next, paint the texture of the bristles using long strokes. These lines should not be too long. For a natural look, draw them thicker near the horizontal lines.
Step 4
So let’s work with shadows. There aren’t too many of them, and we will add dense shadows in the areas shown in the image below. If you did everything right, your brush drawing should look something like this.
Today HTDraw.com‘s team showed you how to draw a broom. As we said, this lesson can be used both to draw a regular broom and a magic broom for the witch, Baba Yaga or Harry Potter. If you are interested in learning how to draw more of such things, visit our category called “Misc” where, as the name suggests, we hold a lot of drawing lessons.


