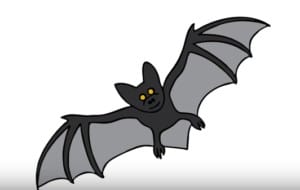
How To draw a Bat easy step by step with this how-to video and step-by-step drawing instructions. Easy animals to draw step by step for children.

Please see the drawing tutorial in the video below
You can refer to the simple step-by-step drawing guide below
Step 1
Start by drawing two big ears up side by side.
Step 2
Next draw the face with a short, bumpy muzzle. Two fangs point down from the mouth.
Step 3
Draw the body. Make a circle from the outside of one ear down and around the other.
Step 4
Next we add two legs. Draw them on the bottom of the abdomen but not side by side. They are very thin. Add left wing. Think of a reverse ‘J’. Make a small hook about half way along the wing.
Step 5
Immediately confront the hook you made at Step 5 extra fingers. It’s as thin as a leg. Add another finger right next to the first one.
Step 6
Next we draw the wing on the other side of the head. Create a long thin curve. Add another hook in the middle of the top.
Step 7
Through the elbow hook, add a long and thin finger. Right next to that finger draw another one like it.
Step 8
Draw wings. Track two curves from fingertips and to wings. Do this on both wings.
Step 9
Finally add black to the bat.


