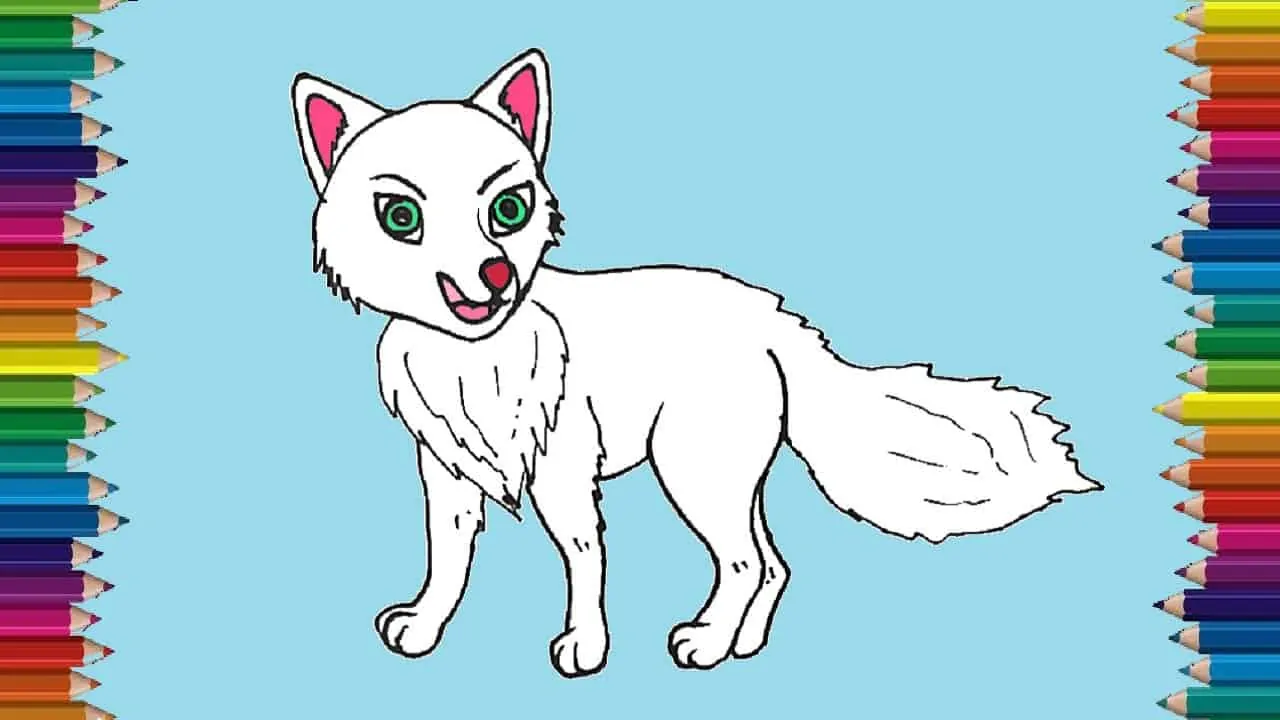
How to draw a arctic fox easy for kids with this how-to video and step-by-step drawing instructions. Cartoon fox drawing step by step for beginners and everyone.
Please see the drawing tutorial in the video below
You can refer to the simple step-by-step drawing guide below
Step 1
Start with the head. It is like the shape of your nose with two small bumps on the bottom and sides curved.
Step 2
Draw two large triangle ears on the top of the head. Both start at the top of each side. They are pointed and there is a small line between them to make the top of the head.
Step 3
Right in the center of the bottom line draw a small round nose. Next draw oval eyes just above the nose. There are two marking lines inside the ears.
Step 4
Start on the right side of the head just below the ears, draw a long line for the back. It will curve down at an increase.
Step 5
Starting at the bottom left of the head, draw the neck line back and down on a diagonal line. From there add a front line straight to the foot. The back of the legs go straight up and bend to continue the abdominal line. The front legs are the same size at the top and bottom.
Step 6
At the end of the abdominal line draw the front line for the hind legs. This line bends slightly downward into the straight bottom of the hind leg. The upper part will be wider than the lower part. The back of the legs begins to straighten up and then bend back and toward the straight line.
Step 7
Between the hind leg and the rump line add two lines to make the tail thick and smooth. It does not reach the foot and has a sharp tip.
Step 8
Under the neckline, draw another front leg of the same size and length as the first leg. In front of the hind legs first add a hind leg.


