How to draw a akita dog step by step. Dog drawing easy for beginners with this how-to video and step-by-step drawing instructions. How to draw a dog easy for kids and everyone.
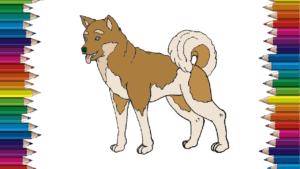
Please see the drawing tutorial in the video below
You can refer to the simple step-by-step drawing guide below
Step 1
Start with the head. It is a hook shape aside with the shorter part of the hook at the bottom. Be sure to add a small bump to the end of the long hook line. This is the nose. The upper part of the muzzle is twice as long as the lower jaw. Draw small eyes for the dog.
Step 2
Continue the long muzzle to make the ears curve. Continue to draw the lower part of the back and the muzzle to make the front part of the neckline.
Step 3
Now draw a long line from the top of the head to make the way back. Curve down sharply at the end.
Step 4
Draw the ledge behind the back leg to the foot. Return the line almost to the following line. Make the upper part of the hind legs slightly wider than the lower part. Draw the abdomen from the hind legs forward and add the front legs. The forelegs begin just above the abdomen and continue to the feet. It is the same size as the hind leg. Draw the front of the upward leg to connect the neckline.
Step 5
Add a straight front leg first. Add another curved hind leg in front of the first hind leg. Finally, from the butt draw a tail that curls up on it like a squirrel.
Step 6
Finally draw some spots on the akita dog’s body. Color him.
