How to Draw a Japanese Wave with this how-to video and step by step drawing instructions. Easy drawing tutorial for beginners and all.
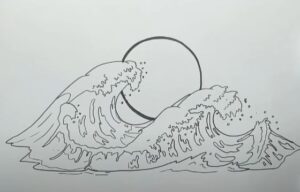
Please see the drawing tutorial in the video below
You can refer to the simple step by step drawing guide below
Step 1. Add the curve of the wave
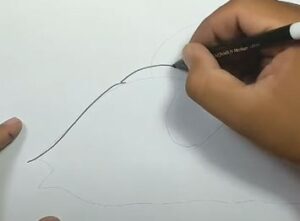
To add the curvature of the wave, draw a long curved line.
Step 2. Draw the vertex
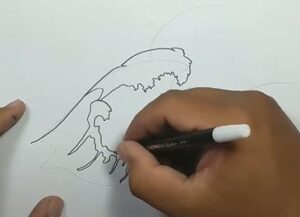
Draw several small, bumpy curves as shown in the illustration to form the crest of the larger wave.
Step 3. Sketch more waves
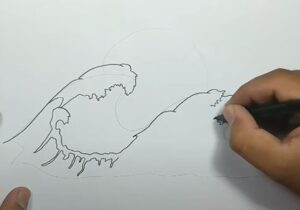
Further sketch the serial wave by forming a line as shown.
Step 4. Draw the peak of the serial wave
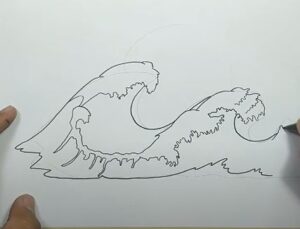
Draw a smaller version of the vertex we first drew in the first step. Create the shoulder of the wave by drawing a long, curved line pointing upward.
Step 5. Draw the current in waves
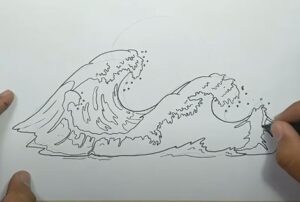
To form the current under the wave, draw some curved lines as shown.
Step 6. Draw the sun
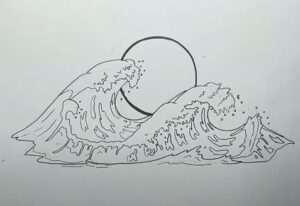
Complete the drawing with a circular image of the sun at sunset behind the waves.
Step 7. Complete the Japanese wave drawing
Finish off the Japanese wave by coloring the top first with white and light blue pencils. Next, use a darker blue to color the rest of the wave. For the boats, use a yellow pencil. Then, color in Mount Fuji in the background by shading the ice cap with a white pencil and the base of the mountain with dark blue. Finally, color the background with a yellow pen.

