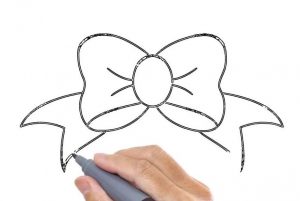
How To Draw A Hair Bow easy with this how-to video and step-by-step drawing instructions. Easy drawing tutorial for beginners and kids.

Please see the drawing tutorial in the video below
You can refer to the simple step-by-step drawing guide below
Step 1
There are only four easy steps to this “how to draw a hair bow” tutorial. Start with a circle for the button and then draw a total of six slightly curved lines.
Step 2
You will now use the instructions to draw heart-shaped bumps on your bow and then add some definition to the bow’s knot. Next draw two hanging ribbons and move on to your final drawing step.
Step 3
You will finish this object as a hair bow and when you are done you can start erasing all the guides and shapes that you drew in step one.
Step 4
Here’s how your bow will appear when you’re done. All you need to do now is color it in any color you like. I hope you have learned “how to draw a bow” step by step.


