Snowflake Drawing easy with this how-to video and step-by-step drawing instructions. Easy drawings for beginners and everyone.
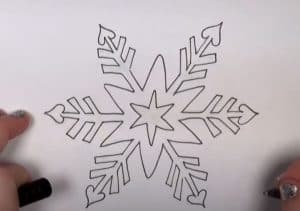
Please see the drawing tutorial in the video below
You can refer to the simple step-by-step drawing guide below
Step 1
Start with a small circle in the center of the scale, and then draw five spider-like lines starting from the center and moving outward at an angle.
Step 2
Now, outline the center of the snowflake to a point where it looks almost like an octagon.
Step 3
You will now start sketching the first of the five large tops of the snowflake. Note that this particular design looks a lot like a leaf. When you’re done here, you can move on to the next step.
Step 4
Continue drawing two more main tops for the snowflake the same way you drew the first one. Note that they will all be identical in shape, size, and design.
Step 5
For the final step, all you have to do is draw the final main tops as you see here. Now if you want to get really creative, you can draw a few little nods in the center of each scale arm, or you can go ahead and leave it as is. However, you still have to erase the lines you drew in step one.
Step 6
Now that you’re done, this is what your snowflake will look like. Now you can have fun painting multiple pieces to create a winter wonderland. Well done everyone and thanks for watching this tutorial on how to draw an easy snowflake.
