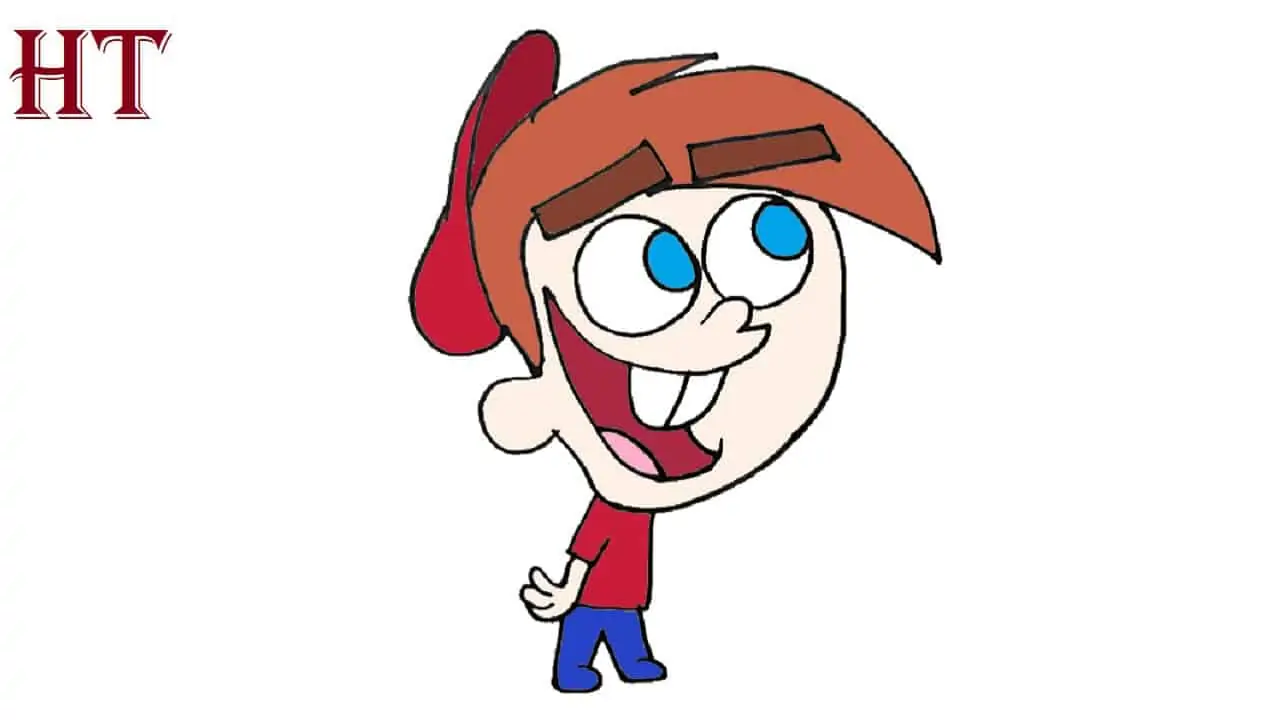
How to Draw Anime Heads easy with this how-to video and step-by-step drawing instructions. Anime drawing tutorial for beginners and everyone.

Please see the drawing tutorial in the video below
You can refer to the simple step-by-step drawing guide below
Step 1
The first thing you need to know are the basic shapes that you use to create a head. Every head starts with a circle, and depending on the type of character you’re drawing, the overall angles and shape will change. The young man’s head is very round, the chin does not come down from the bottom of the circle. Teenagers have slightly longer faces with girls being slightly longer while boys have a squarer chin. Adult women’s faces are slightly longer, and adult men’s faces are generally squarer. The villain’s face is long and angular and a bit thin.
Step 2
You can draw your head from a number of different perspectives. From the front or looking straight. The 3/4 view is when the head is only slightly turned to one side. Profile is when the head is turned completely to one side. 1/4 of the view is when we only look at the face, maybe into the eyes and a little behind the ears. And then there’s the scene behind the head.
Step 3
Your head may also tilt up or down. When looking down at the head or if the person is looking down, the face will appear shorter. The eyebrows will obscure the eyes and get a little closer to them and you will see the top of the nose and see where it goes. The mouth should be almost touching and appear to be a bit thin. When delineating a head looking down, the bisector passing through the face will curve downward. When its face looks up, you’ll see the underside of both its chin and nose. The eyes seem to move closer to the eyebrows and again the mouth won’t open even if it did, seeming to narrow due to the way we look at it. This overhead bisector will curve up instead of down. And then you will see that everything is fine, the size and position are normal. The bisector goes straight through.
Step 4
Defining the shape of the face is also something you may want to do, although you do have the option to have straight lines for the edges of the face. Usually though you want to point out where the cheek differs from the forehead. You’ll want to bring it in a bit to the right to suit your eyes and then bring it out a bit below. From one side, you’ll want to bring your forehead in and curve it down and out to show where your nose is. You’ll also want to locate the connector to the head, bring the chin in and round the back of the head, and then lower it to an angle of nearly 90°.
Step 5
You should also know how to keep your hair on top of your head, unless your character is bald, in which case you don’t need to know this step too much (this also applies to voluminous haircuts.) Hair should have volume and head bobbing a bit. You can’t leave your hair loose and plaster it right next to the skull, it will look unnatural.
Step 6
Now just decide on a style. If you want smoother curves and finer details, you’ll probably want to go for a more shojo style (Shojo is the name of manga usually reserved for girls). If you want fast and bold lines, choose shonen (Shonen is the name of a manga usually for boys).
Step 7
Now we can get started. Like I said earlier, all ends start with a circle. We will also lower a line for the neck and create a horizontal line for the shoulders. We will also draw a horizontal line on the face, warping it up as well as bringing a line down to the center of the face. A circle next to the circle will show us where our ears will be.
Step 8
Will start with one side of the head on the opposite side of our ear. We’re going to draw a line going down and in around the line before going out and down to the chin. We’ll bring it in and then bring it down for the neck. We’ll draw a line from there to show where it connects to the shoulder.
Step 9
We will draw the shape of the ear on the other side and we will draw where the back of the connector connects to the neck, do the same as we did in the previous step, bring it in and down again, as well as bring left a way out for the shoulder.
Step 10
Next we will start eyeliner, draw the upper and lower lashes. The top lashes should be much thicker than the bottom lashes and will usually have eyelashes if you’re drawing a girl. A small line just above will show the crease between your eyelid and your eye.
Step 11
We’ll draw ovals for the pupils and expand them to create shadows in the eyes, going from thicker to thinner at an angle. You can erase or use white or white paint to highlight the eyes, and you can choose to save the part after you’ve colored it.
Step 12
Mouth and nose next. Just a small line is all you need to define the nose in a manga face. And the mouth here is open. The lines won’t completely connect at the bottom but the mouth will still be defined as you color your image.
Step 13
Now for all the other details of the face. We’ll draw a quick curve over each eye for our brows, some short lines under the cheeks (usually showing a bit of blush) and we’ll draw the details of the ears.
Step 14
We’ll use more bloom for the shadows under the chin and some shade that’s closest to the eyes closest to the face.
Step 15
Hair time. We will draw half of her bangs.
Step 16
And then another. Draw the curve of the hair and some definitions for the strands.
Step 17
We’ll pull her hair back, tie it up, and get it ready for a ponytail. A few strands near the nape of the neck will not be long enough and will stick out.
Step 18
And then her ponytail, draw curves and some curls again just like we did for the bangs.
Step 19
And we’re done! You drew a manga head. Don’t be afraid to go and practice a variety of angles and perspectives, especially if you’re designing a character of your own.