How to Draw a Realistic Parrot easy with this how-to video and step-by-step drawing instructions. Bird drawing for beginners and everyone.
Please see the drawing tutorial in the video below
You can refer to the simple step-by-step drawing guide below
Step 1
Start by choosing your pencils. I use a 3H pencil for highlights, an F pencil for outlines/lines, and a 3B pencil for shadows.
Step 2
Start with a basic sketch of the bird. Use the instructions if you need to.
Step 3
Your outline will look something like this. Remove any guidelines that you don’t need.
Step 4
Using an F or HB pencil begins to better define the sketch in a gentle way. Start with the eye and the area around it. Pay attention to the direction of the folds under the eyes.
Step 5
Define the mine a bit more.
Step 6
Start sketching lightly following the flow of the feathers.
Step 7
Rough sketch following the flow of the rest of the feather.
Step 8
Here is a clearer view of my sketch. Make your lines quick and natural. Don’t spend too much time on this step.
Step 9
Use the 3B pencil to create light and light shadows on the background. You can also use an HB pencil for this.
Step 10
Smooth the background using a blend fabric or stump.
Step 11
Start adding details to the eye and the area around it. I used an F pencil for the iris and contour of the eye and a 3H pencil for the rest of the drawing.
Step 12
Shade the beak with a 3B pencil.
Step 13
Tweak your ball. Use the blend stump to smooth your shadow. Use pencil 3B for dark areas and 3H for highlights. Remove highlights.
Step 14
Mostly shade in head and neck feathers.
Step 15
Now smooth the feathers and define the contour. Use a combination of 3B and F pencils for contour and 3H for feathers.
Step 16
Define the rest of the outline on the left. Use the 3B pencil to shade the background.
Step 17
Blend in the rough shade of the rest of the neck and chest hair. Use an eraser to make highlights.
Step 18
Now define the feathers. Use pencil F for dark lines and 3H for light lines. Don’t be too overwhelmed by the feathers. As long as you follow the basic diagonal of the lines, they will look realistic enough.
Step 19
Sketch the basic forms of wing feathers.
Step 20
Start making your way down the wing with details. Use the F and 3H pencils again to shade.
Step 21
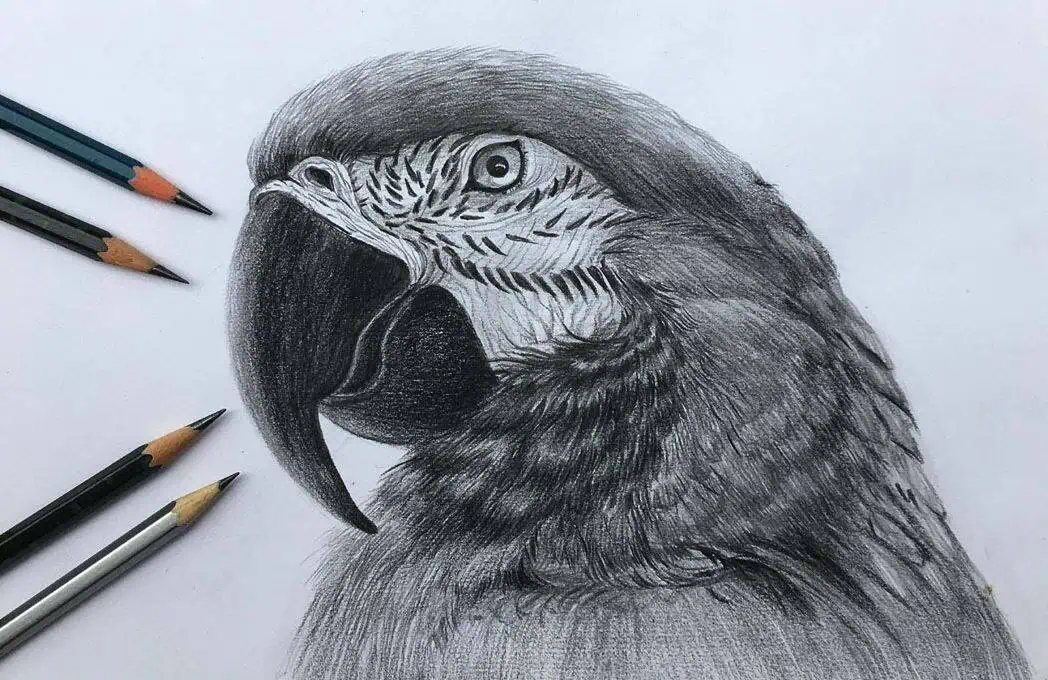
Finalize the drawing by shading the rest of the feathers. Smooth your background and redo your shadows. Darken your shadows using the 3B pencil and redraw your contours with the F pencil. That’s about it for this tutorial! I hope you find it useful and as always comments and questions are always welcome.


4.5