How to draw a Mitten with this how-to video and step-by-step drawing instructions. I promise that the lesson will be very simple and interesting.
Please see Mitten drawing tutorial in the video below
This is a simple tutorial that shows in detail how to draw a mouse. This is a great drawing object with which you will once again exercise your creative skills.
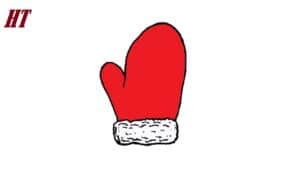
This figure shows a regular, standard-shaped glove. The top is rounded, has a thumb on the side, and has a fur border on the bottom of the glove. Such a glove will warm your hands in the cold season. It is a convenient and practical winter accessory.
In this tutorial, you will use circular and wavy lines. This is very easy to do even for a beginner. You can paint the gloves the same color or use any other color of your choice. You can also show your creative imagination and draw an ornament on the gloves. It will turn out very nice!
Mitten Drawing Step by Step
Step 1. Draw the bottom part of the feather border.
At this stage, use free-form wavy lines.
Step 2. Add the top part of the fur trim.
Describe wavy lines to create a closed path.
Step 3. Describe the texture of the fur.
Sketch uneven thin lines.
Step 4. From the feather trim, draw a smooth curve.
From the feather trim, draw a smooth curve.
Step 5. Start drawing the upper part of the glove.
From the thumb, draw a straight line.
Step 6. Add the rest of the gloves.
Draw a smooth circle to create a closed contour.
Step 7. Correct the inaccuracies.
Compare your drawing with my example and correct inaccuracies if necessary.
Step 8. Color the gloves.
You will need a bright red.
You can see more drawing:
