How to Draw a Life Jacket with this how-to video and step by step drawing instructions. Easy drawing tutorial for beginners and all.
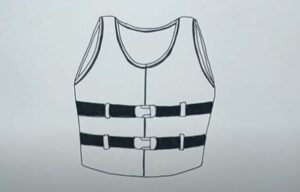
Please see the drawing tutorial in the video below
You can refer to the simple step by step drawing guide below
Step 1. First draw the collar
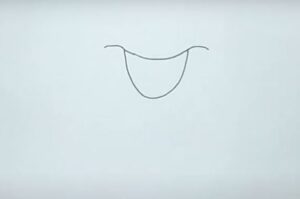
First, draw the collar of the life jacket by creating a triangle shape.
Step 2. Sketch the shape of the life jacket
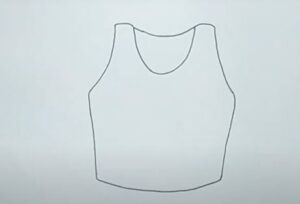
Outline the shape of the life jacket by drawing lines as shown.
Step 3. Add details
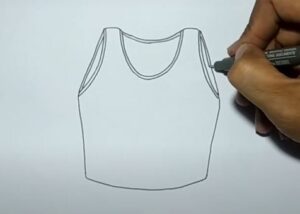
Let’s add details to the life jacket by first drawing the lining on the collar and shoulder holes. Next, draw a vertical line down the middle of the life jacket.
Step 4. Attach the lock
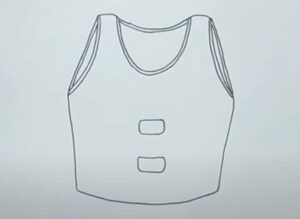
Attach two buckles on the life jacket by drawing a shape as shown. Delete the life jacket parts that overlap with the buckle.
Step 5. Add key details
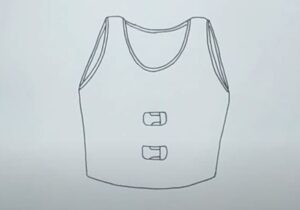
Add details on the buckle by first drawing curved lines on the indented parts of the buckle. Then, draw a vertical line on the right side of the lock.
Step 6. Attach the straps
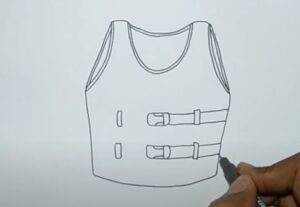
Attach the life jacket straps by forming two long rectangles.
Step 7. Draw the part that holds the strap
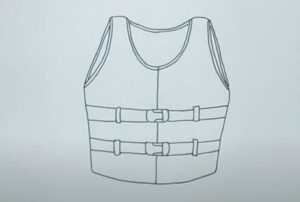
Draw the part that holds the strap on the life jacket by creating small rectangles.
Step 8. Complete the life jacket drawing

Complete the drawing of the life jacket by coloring the outside mostly with an orange pen. Use a darker orange pencil to color the straps and lining on the life jacket. Next, color the straps and the inside of the life jacket with a dark purple pencil. Then, color the lock with a gray pencil.


